CSE370 Assignment 7
Distributed: 15 November 2000
Due: 22 November 2000
Reading:
-
Katz, Chapter 8 (pp. 383-395).
-
Katz, Chapter 8 (pp. 402-432).
-
Katz, Chapter 10 (pp. 496-508).
Exercises:
-
Create a counter that counts in Gray code (000, 001, 011, 010, 110, 111,
101, 100, 000, ... ). It should have a reset signal that sets it to 110
and an enable input that stops the counter (holds the current value) when
low. Do this in Verilog using a "case" statement.
(a) Follow good design practices and layout a transition table and/or state
diagram before doing the Verilog implementation. Turn in your state diagram.
(a) For your simulation, start with the counter disabled. Reset it (leaving
it disabled; it should reset even while disabled) for two cycles,
then lower reset but leave it disabled for two cycles. Enable it and let
it run for ten (10) cycles. Reset it (but leave it enabled) for two cycles,
then lower reset for two more cycles. Turn in simulation waveforms.
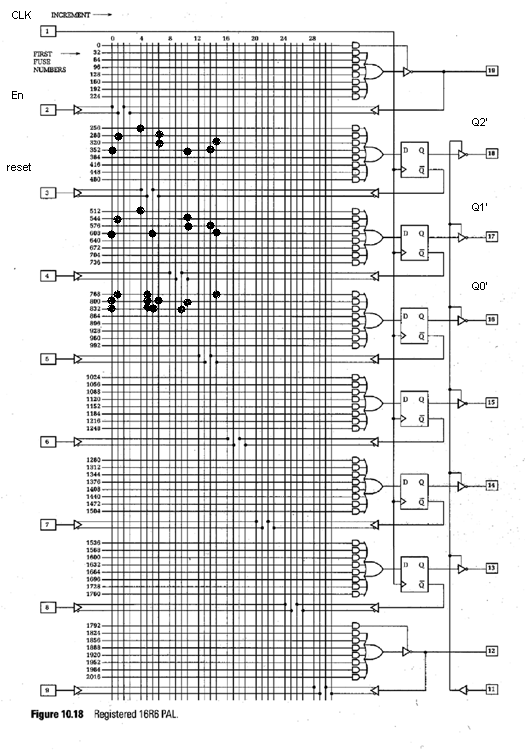
(b) Synthesize logic for your counter and map it to the 16R6 PAL of Fig
10.18 on page 513 (pal10-18.pdf or pal10-18.gif).
-
Katz exercise 8.18.
-
Implement a state machine which "stuffs" and "frames" a serial data stream
for transmission. Stuffing is what we do to a data stream when we
do not want a particular pattern of bits to ever occur in the stream.
For example, we do not want to see three or more ones in a row, thus, we
will stuff an extra zero after every two consecutive ones (e.g., 0011011100100
would become 001100110100100). Framing is what we do to a data stream so
that it has an easy to distinguish start and end. This is usually
done using a pattern that is prevented from occuring in the data stream
itself, in our example, this is going to be "1110".
Your state machine is to take a raw unstuffed data stream as input (U)
and produce a stuffed AND framed data stream (S) as output. The state
machine will have two other inputs as well: reset (R)and enable
(E); it will also have another output: advance (A). Reset
simply resets the machine to a known starting state. Enable simply
tells the machine when the data stream (on the "U" input) that has to be
stuffed and framed starts and ends. When "E" is false, the output of your
machine should be a 0 on "S". When "E" first goes high, your machine
should first output "1110" on S and making sure that A is low so that whoever
is feeding it the data stream does NOT advance to the next bit. When E
goes low, your machine should output "1110" again on "S". These two
"1110" sequences will serve as start and end markers for your data stream.
You can assume that "E" will always be high for more than 8 cycles and
thus always provide some input stream for you machine to operate on.
"A" is asserted by the machine when it is ready to process the next bit
of the data stream on the input "U". Note that when the machine is
stuffing the extra 0s, it will want to hold up the input for a cycle so
that it can get the extra 0 out. "A" can be set to low for a clock
cycle to signal to the input generator to hold up the next value.
(a) Draw a Moore machine state diagram for this FSM.
(b) Create a Verilog module that implements your FSM and turn in your simulation
for the example above (use $display statements that include good explanatory
text as comments). Be sure to identify important events on your printout
(e.g., when a zero is stuffed into the output stream).
(c) Synthesize logic for your FSM and map it to the 16R6 PAL of Fig
10.18 on page 513 (pal10-18.pdf or pal10-18.gif).
Notes:
Learn to use $display statements to show what's going on inside
a Verilog module. They can be very useful for debugging and showing us
that your design works. Display statements are documented in the
LVM (Verilog) manual on page 56. You put them at the bottom of an always
block. In a Verilog module, you can display individual bits, using the
%b specifier, or vectors using the %h specifier.
You can use screen shots to show that your simulation is working including
showing us the contents of LVM windows. Use Alt-PrintScreen to take a snapshot
of the current window, or Ctl-PrintScreen to grab the entire screen. Now
your image is on the clipboard and you can import into your favorite editor.
Make sure to always clearly label everything with which submodule and which
test case it represents.
Of course, you should turn in printouts of all of your circuits, subcircuits,
and verilog models. Remember that printers can print duplex (2-sided) so
save a tree if possible.
Finally, remember to create and save library parts for everything you
build in this assignment. It is likely that you will be asked to use some
of these parts as components of another design in the next assignment.
Rationale:
-
To design, describe, and implement finite state machines..
-
To use a hardware description language for the specification of sequential
logic.
Comments to: cse370-webmaster@cs.washington.edu (Last Update:
)