Alissa Harrison
Skelton code based on code from Chris Twigg and Eugene Hsu
The purpose of this project was to make a 3-D model out of a 2-D picture. The program broke down into seven basic steps: importing an image, computing the vanishing points, choosing reference points, computing the reference homography, drawing polygons, computing the polygon homographies, and finally saving as VRML. Computing the vanishing points is very simple when working in homogenous coordinates. Here finding the intersect of two lines is merely the cross product. However, to make the computations more robust, I used a linear least squares model so that multiple lines of perspective could be drawn and used in computing the vanishing points. I also normalized the values to make more accurate computations. Choosing the reference points is a matter of choosing image coordinates that would be equally spaced in the 3D world. This is easy when an image has square shapes, without it, one mostly has to resort to eyeballing a good fit. From at least 4 reference points, the reference homography can be determined. The homography is to convert image coordinates to a plane in 3D space and vice versa, it is critical to determining the 3D position of the points in the image. Again, I used a linear least squares method, solving for the homography by finding the eigenvector of the smallest eigenvalue. Next the user, would need to work through the process of drawing polygons to delineate the planes in the image, making sure to calculate the 3D positions of the vertices along the way. Finally, when saving to VRML the polygon homographies are computed and the texture files are written. The result is a .wrl file that can be viewed in any VRML viewer.
The program will be available shortly.
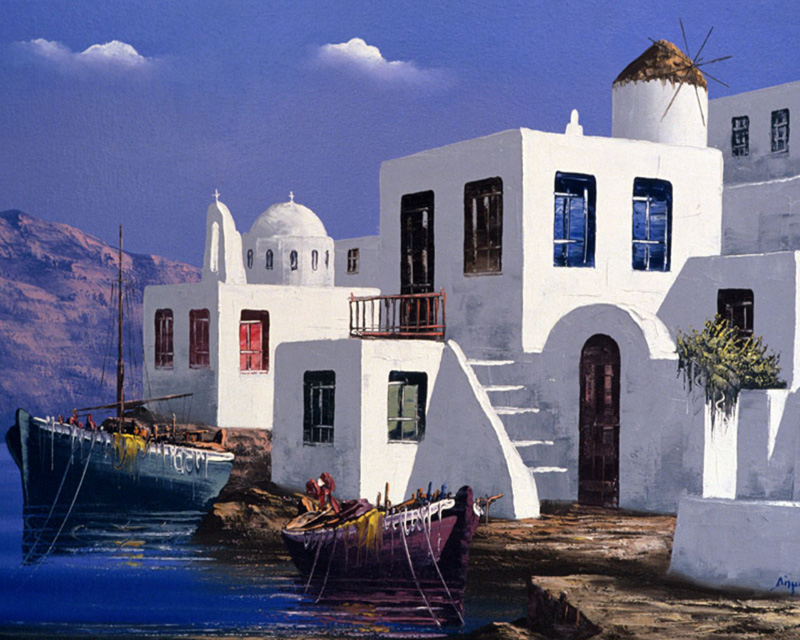
The artifact using a painting (Fig. 1) comes from the artist Rene Mattes, and depicts a small village from Greece. This was the most challenging artifact to make and used some additional techniques outside the program to improve the results. Specifically, I took advantage of the transparent GIFs to make the archway over the door semicircular. I also took out some of the other parts of the picture (near the ground level) by using the clone tool in Photoshop. Since it was a painting, there were a few parts that did not completely conform to perspective. On the stairs, I made the decision to simplify them due to time constraints. The 3D model is a stretched slightly in the y direction since I didn't have exact reference points. I simply eyeballed what seemed to be appropriate.
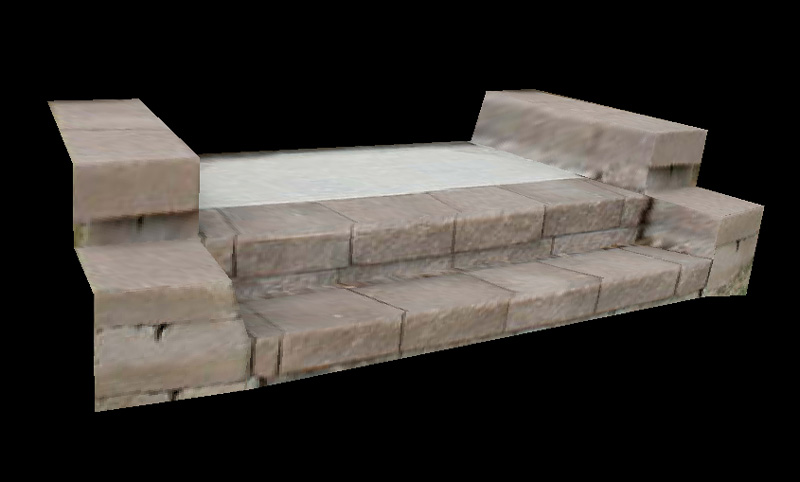
The second artifact comes from a photograph (Fig. 1) of stairs. Although not terribly complex, it demonstrates the program's ability to find accurate 3-D positions of the points. I didn't make any special changes on this artifact. Here, I used the lower left square concrete block as my reference points (eyeballing the reference height) and the results seem very good; it's fairly accurate to the original picture.
Fig. 1 Painting
Fig. 2 Creating the 3D model from the program

Fig. 3 Texture files
This texture file was modified by making the regions outside the arch transparent.
This texture file was modified by removing the ground level objects.
Fig. 4 Screen shot of 3D model in viewer (Click picture for the VRML)
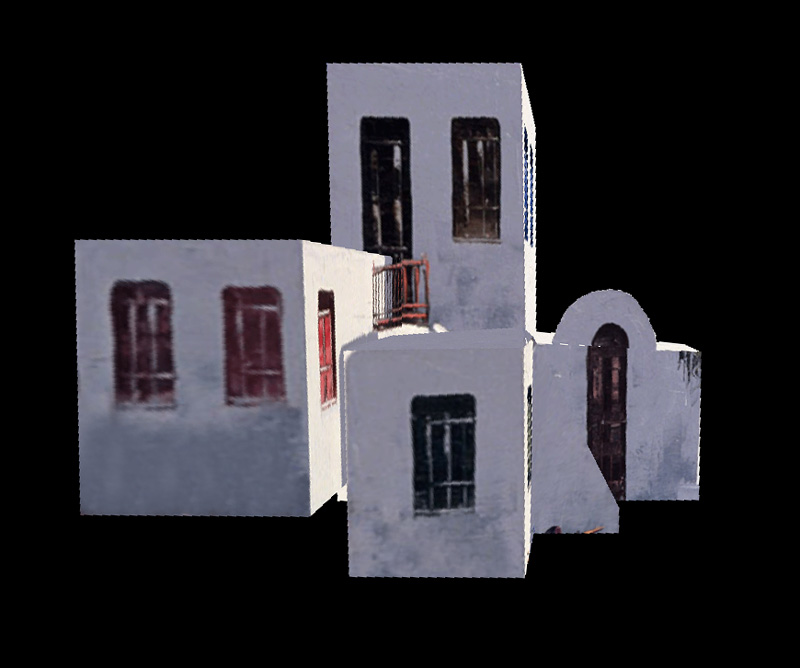
Fig. 1 Photo
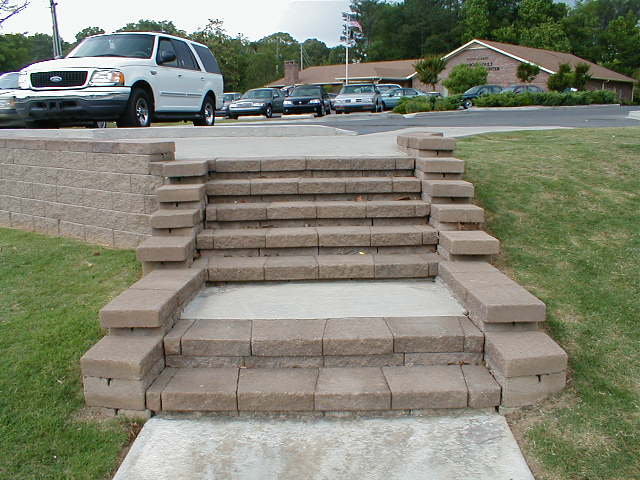
Fig. 2 Creating the 3D model from the program

Fig. 3 Texture Files
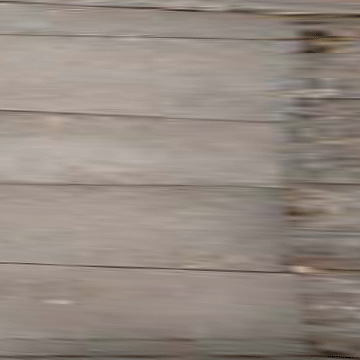
This texture file demonstrates the amount of warping necessary to fit the polygon on the first step.
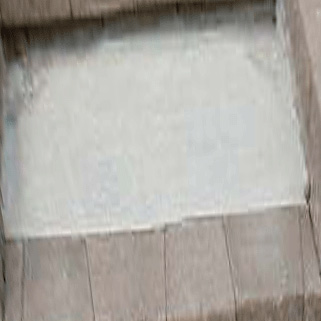
This texture file shows a bird's eye view of the top step.
Fig. 4 Screen shot of 3D model in viewer (Click picture for the VRML)