Initial Setup
You start by
opening the fruit bowl file from Lesson 11.
1. From the
file menu select Open Scene.
2. Select the scene you
saved from the Texture Mapping Assignment.
Retrieve the Candle Object
3. Once the file is opened, select Import->File from the file menu.
4. In the file-lister, select candle.mb
file.
5. Click the import
button to import the candle. You have now merged
two files into one 3D scene so
they can be saved together.
An ambient light is a non directional light that fills the dark sides of
objects and gives scenes a natural appearance. Since light doesn't bounce off
surfaces in Maya,
ambient light is an effective way of simulating the
reflected light you see in real life. Ambient light is often used as a secondary
light source, supporting a stronger light
type such as a directional light
or spot light.
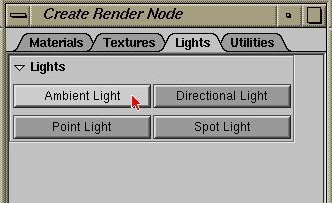
Create an Ambient Light
1.
From the multilister, select Edit->Create.
2. Click on
the Lights tab to see the possible choices for lights.
3.
Click the Ambient Light icon to create an ambient light.
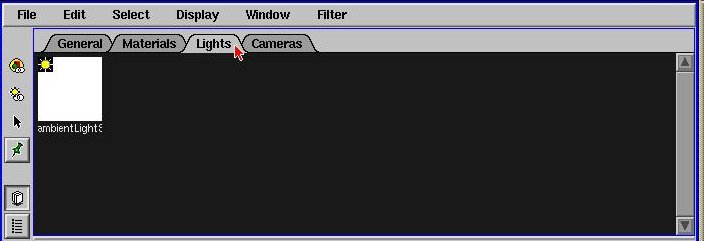
4. In the Multilister, click on the light tab to see the
lights
currently in you scene.
Edit some of the Light Parameters
1. Double-Click the Ambient Light icon to bring up the
Attribute editor.
2. Change the RGB values of the light
to 0.39 for Red, 0.39 for Green, and
0.39 for Blue.
3. Change the value of the Ambient Shade to 0.5.
A directional light is similar to a distant light source such as the sun. It is made up of parallel rays of light that all follow the same direction.
Create a Directional Light
1. From the multilister, select Edit->Create
2. Select
the Directional Light icon from the list of lights.
3.
Close the Create Render Node tab.
Rotate the Light
4. Within
Maya, select the directional light.
5. In the channel box, change the rotation values to 45
for X, and 35
for Z.
You will now learn how to render your scene using the Maya renderer.
Render the Scene
1. From the main menu, select Render->Render into New Window.
2. The following dialog should appear.
We will now add a light to the candle. Using glow and halo features, you can
make a point light look like a candle flame. The flow effects are
also
animatible so you can also make the candle flicker. While the following settings
produce a realistic candle flame, keep in mind that there
are also many
other ways to simulate a flame in Maya.
Create and place a point light
1. From the multilister, select Edit->Create. From the
Create Render Node
dialog, select
Point Light.
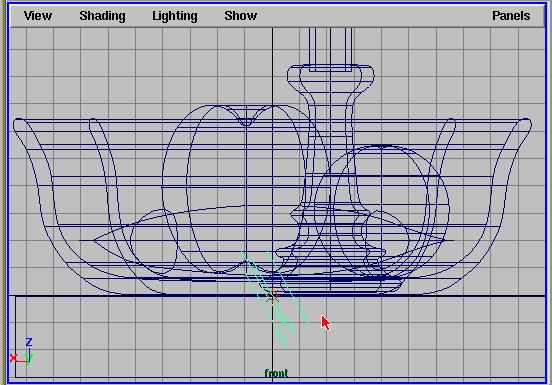
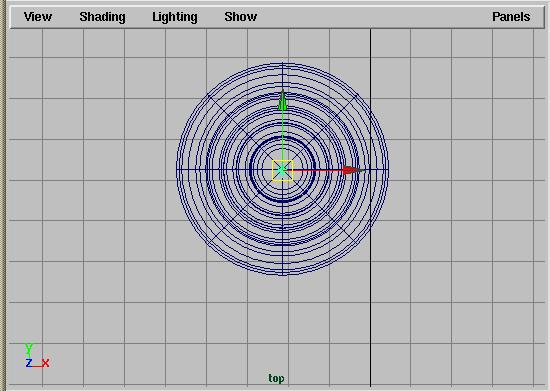
2. Use the front and top windows. and place
the point light into its
proper
position on top of the candle.
Open the Light editor and edit the Glow and Halo
3. In the Multilister, double-click the point light you
just created to
open the Light
editor.
4. In the light effects section, next to Light
Glow, select the Map...
button.
This creates an opticalFX node in the Multilister and connects
it to the point light. The
opticalFX attribute editor is displayed.
5. To create the
flame, change the Glow Type to LINEAR, and change the
Halo Type to RIM HALO.
6. Switch back to the Point Light editor. Change the
intensity of the
Point light to
0.5.
7. Click the white color sample, and in the Color
editor change the
following HSV
values: Hue to 56, Sat to 0.675, Value to 1.
8. Open the
Glow effects section again. In the Glow attributes sub-section
change the Intensity value to 0.5
and the Spread values are set to
0.25.
9. Scroll down and open the Halo Attributes
section. Change the halo
intensity to 0.10 and Spread to 0.75.
10. Close the
Attribute Editor, and the Multilister.
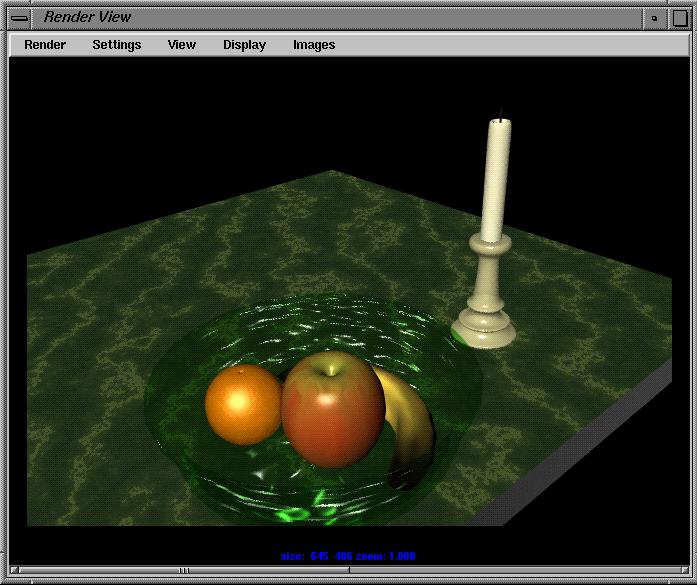
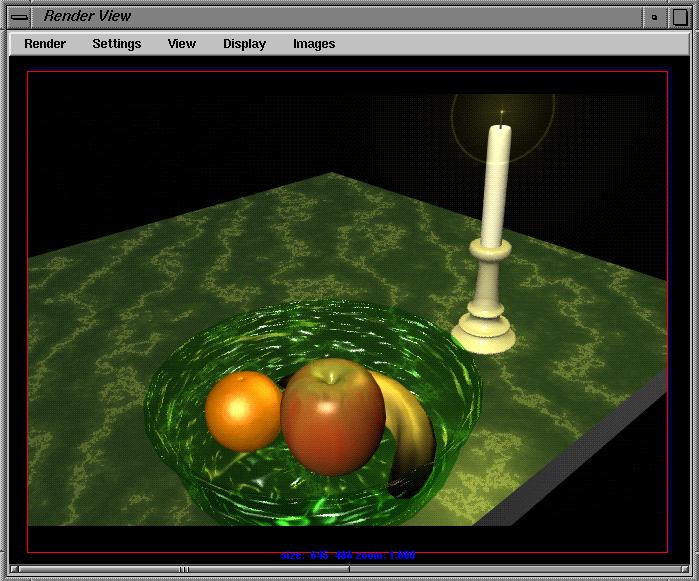
Render the Final Image
1.
Open up the Render View window.
2. Select
Render->Render->persp. This will render the final
image.
3.
Next, Select Images->Save to Disk...
4. In the save
image dialog, save the image as MyFruitBowl.
Save the file
1. From the
file menu select File->Save scene as...
2. Save the
file as myfruitbowl_final.
Conclusion
You have how taken a project from
wire model to rendered image. You have applied shaders, and rendered those
images photo-realistically.