EE/CSE 576 Computer Vision - Project 1: Image Scissors
Artifact and the 'Making Of'
Kirby and Friends

Step 1: Source Images
The first step is to pick an image or two to work with. Here I've chosen to combine two pictures of
Kirby along with Professor Seitz into a fun little scene. Note all the images (except the one of Professor
Seitz) were originally at a resolution of 2048x1536 and have been scaled down here.
Unfortunately I didn't have a picture of the TA otherwise Evil Kirby
would've made it into the final composition.
Image 1 - Kirby and the apple

Image 2 - Kirby playing the Gameboy
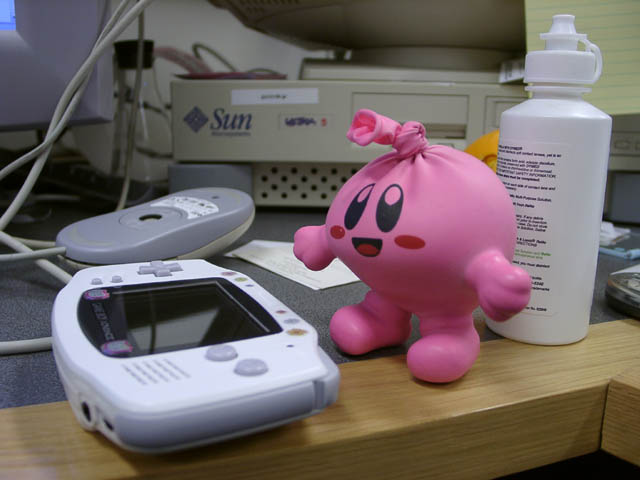
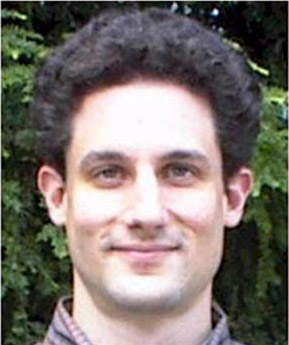
Image 3 - the Professor
Step 2: Cutting out what we want
After picking the images we need to make masks so we only get the portions of the images we want
to work with. Using the Image Scissors program I made masks of Professor Seitz and the Gameboy
Kirby and then imported them into Photoshop. Since the Image Scissors program wouldn't take the high
resolution version of kirby (the solution version didn't work either) I imported a scaled down version
into the Image Scissors program and then upscaled the mask in Photoshop.
the Professor

Kirby

Kinda missed Professor Seitz ear there... Luckily Kirby doesn't have ears.
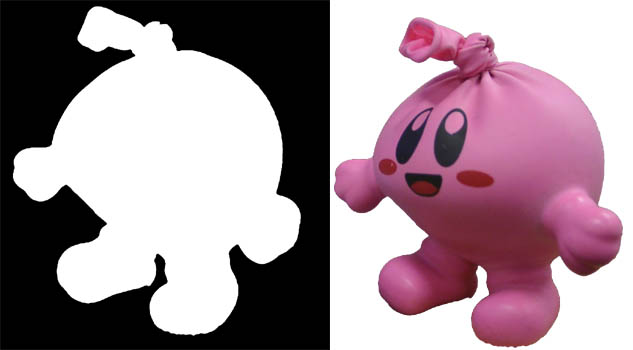
Step 3: Cleaning up the masks
Although the Image Scissors program gives a pretty good outline of Kirby and Professor Seitz it does
pick up a bit of the background. So by using the airbrush and a bit of the magic wand we can clean
Kirby's mask up. The fact that he's pink and most of the scene is grayish helps too.
And here he is
Since we're going to merge Professor Seitz head onto Kirby's we don't have to do much work with his head.
We don't really need the outer portion of the face but we'll keep it while we're working.
And here he is

Step 4: Face/Off
Nope, its not time for more bad acting by Nicolas Cage. Its time to swap Kirby's face with Professor
Seitz's.
To remove Kirby's Face we need to use the rubber stamp tool along with the blur tool and airbrush
to remove his facial features and replace it with something that's fairly pinkish. This image of Kirby was
flipped horizontally so it was a little easier to work with.
Where did Kirby's face go?
Uhhh... Kirby I don't think that hairstyle works for you
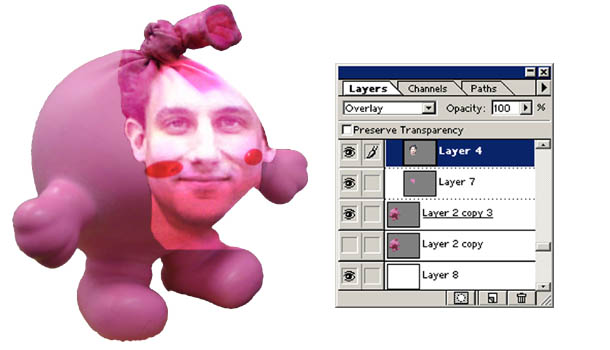
Step 5: Moving on . . .
Next we'll take Professor Seitz's face and apply it to Kirby's body. Since it would normally be tough to match up
Professor Seitz's face to Kirby's body we'll use the overlay layer feature in photoshop (alt-left click
the layer above the one you want to group it to then select 'Overlay' from the top of the layers window).
Layer 7 is an airbrushed pink layer with the 'Lighten' feature applied to Kirby's body. This helps even
out the area that we removed.
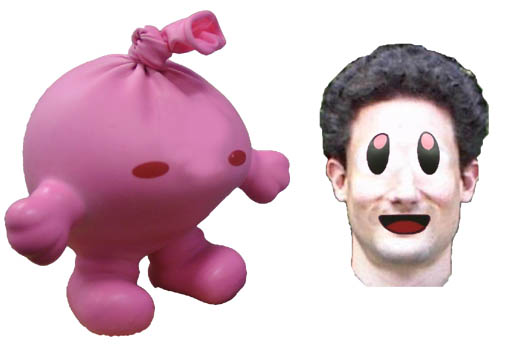
Unfortunately, Kirby-Seitz doesn't look as good with all those other human features. So we can use the Photoshop
eraser to remove the non-Kirby ish features (we just want the eyes, nose, and mouth). I did this with a
Wacom graphics tablet that I have and the airbrush. But, it's just as easy with a mouse. The fact that we're
erasing a modifying layer and not the Kirby image itself helps hide some of the mistakes. A quick free-transform
helps change Professor Seitz's face to match his new body.
Hey Professor Seitz!

After you have most of the features of the face you want change your face layer to 'darken' and throw another
'color' layer on top of that group and paint the face pink till it matches kirby's body. After a bit of work
and a few more free-transforms I ended up this:
Step 6: Finishing touches
Now that we have our Kirby-Seitz with the right amount of pink in his face we can paste our new Kirby into
the first image with Kirby and the apple. Depending on where you want to put this new Kirby you'll need
to free-transform the image to fit your needs. To help make the edges look a bit better you can duplicate the
final placed Kirby layer and blur the lower layer with a Gaussian blur to make the edges look a bit more natural.
Of course, since I horizontally flipped Kirby to work on him before, I undid that so he's facing the same
direction as the knife wielding Kirby. You can add a little airbrushed shadow to make the new Kirby fit
into the scene better too.
Who wants some apple?
The End
Thanks Kirby, now that we're done its time to go relax. And thanks Professor Seitz for providing us with
a picture :)
Good thing I brought this chair