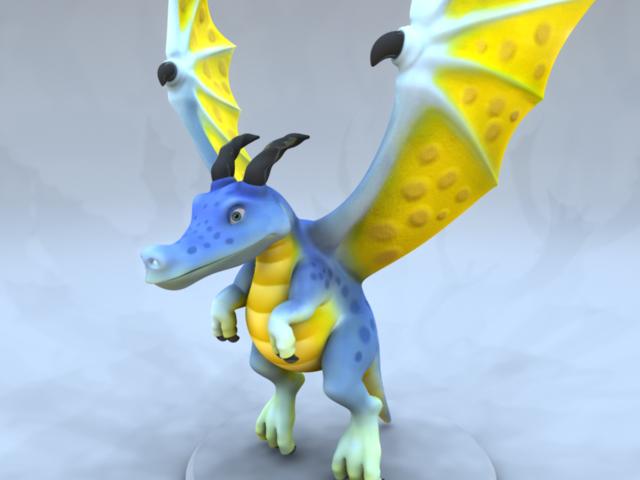
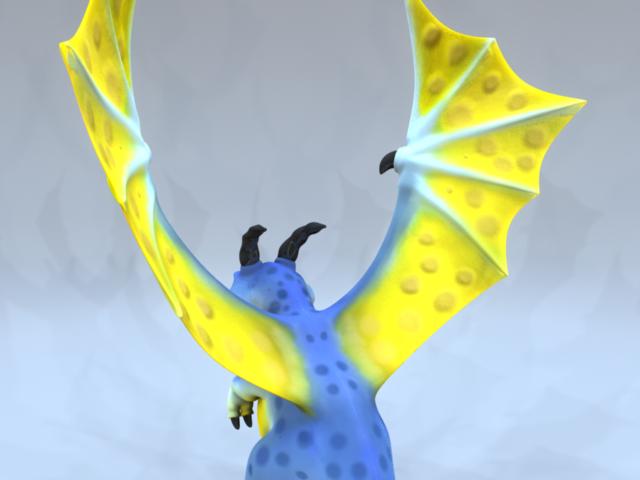
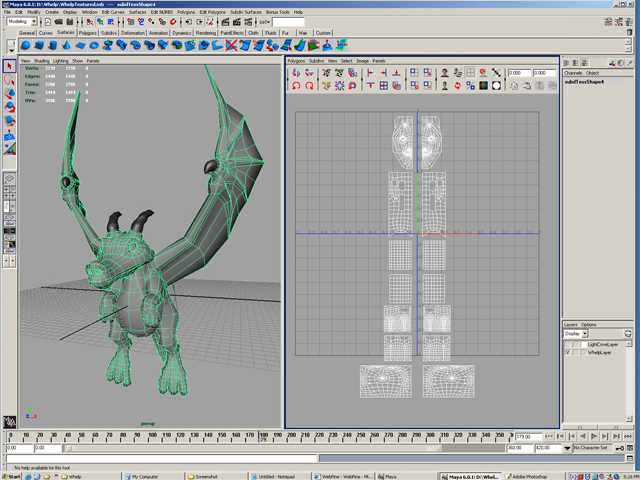
After you have modeled a character or object, the next step is to texture it. The process of texturing proceeds in two stages. First, we must create a suitable UV map for the geometry. Second, with this UV map as a guide, we can paint the surface color of the model into a texture using Photoshop. We will be using the Dragon Whelp file for this assignment. Save and open it to begin.
-
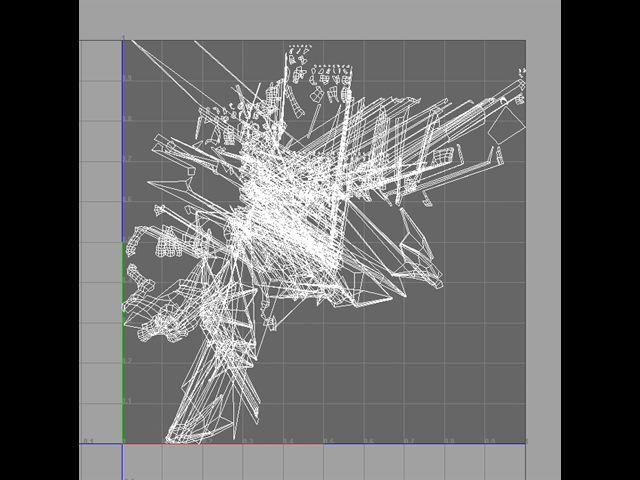
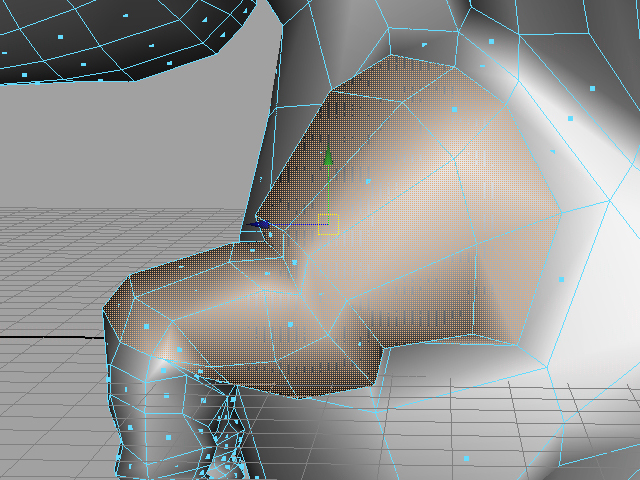
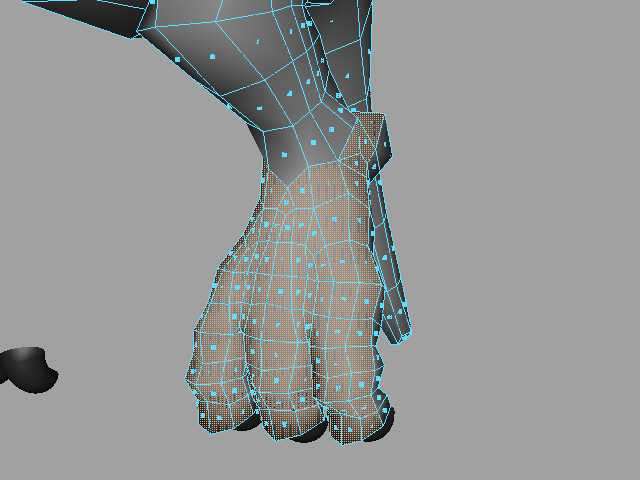
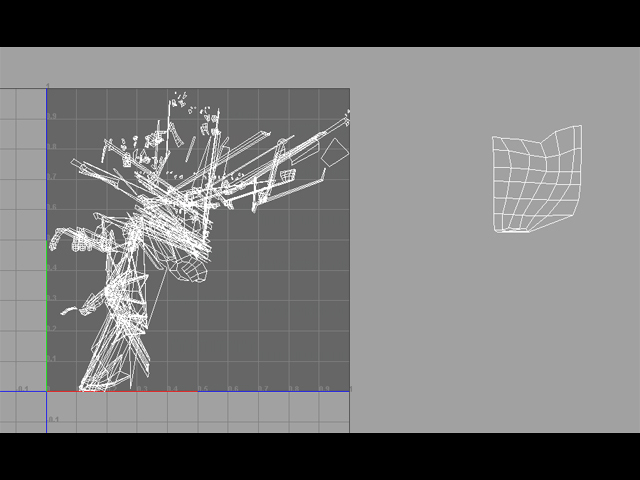
Most of the work of unwrapping the model will be done in the Window → UV Texture Editor. As you can see, the UV map for the model right now is not very clean or organized. Placing a texture onto this UV map will create really bad results.
-
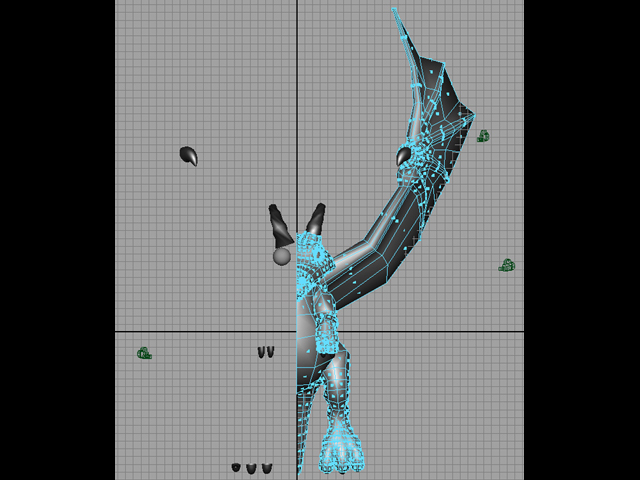
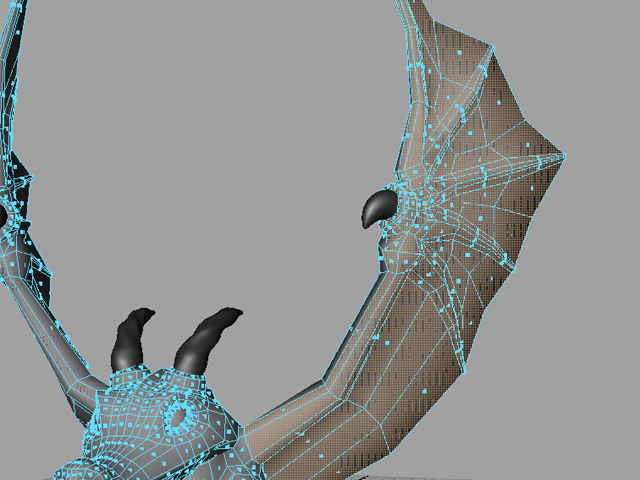
To make the UV unwrapping process faster, we will first delete half the model. We will unwrap one half and then duplicate the other half over. The duplicated half will have the same UV layout as the other side. You don't have to worry about unwrapping the eyes, claws, or horns. You may want to hide them until render time.
-
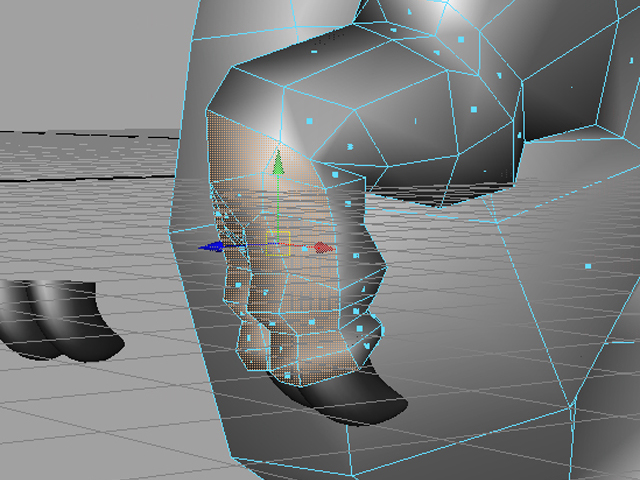
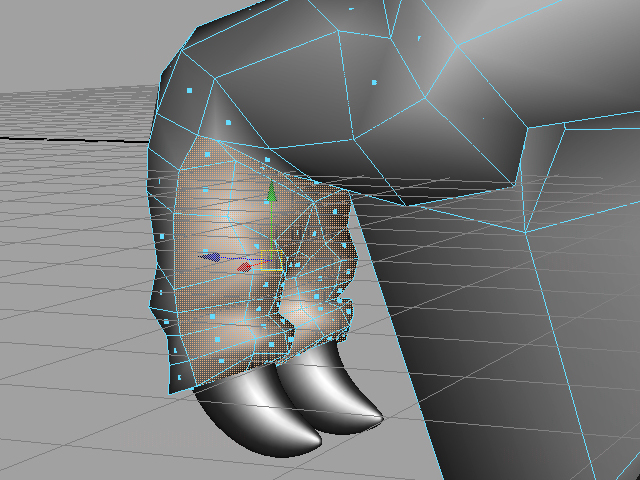
Next, we will divide the model into various patches or shells. Each of these selections will be a connected set of UVs in the UV map. For each shell, select a set of faces. You will probably find the Paint Selection Tool very useful in this task. Once you have selected all the faces of a shell, go to Create → Sets → Quick Select Set... and give the shell a name. This will add the set to your Outliner. You can now quickly reselect the shell by Right-clicking the set and selecting Select Set Members.
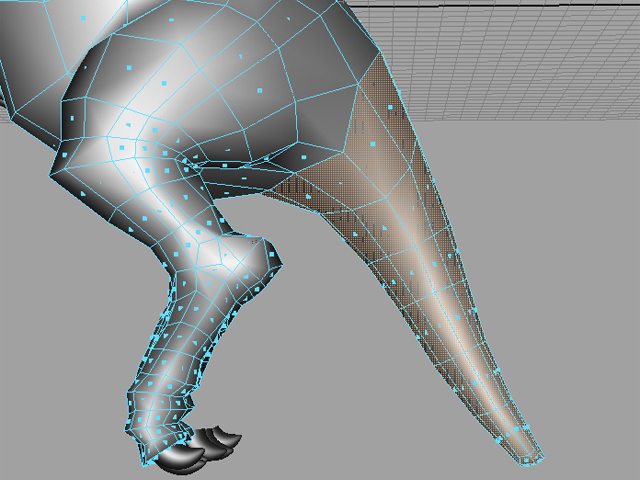
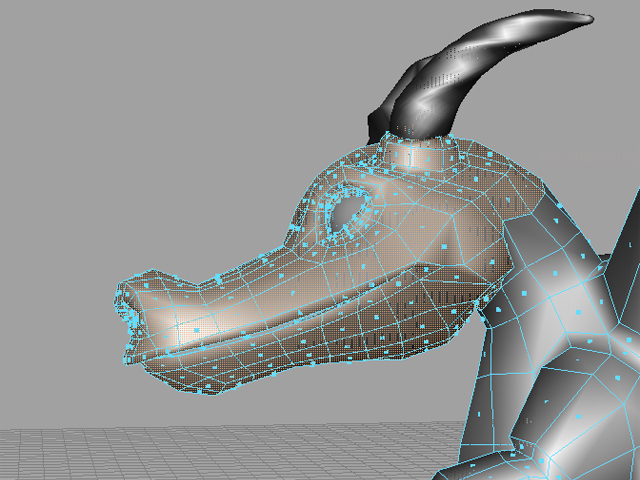
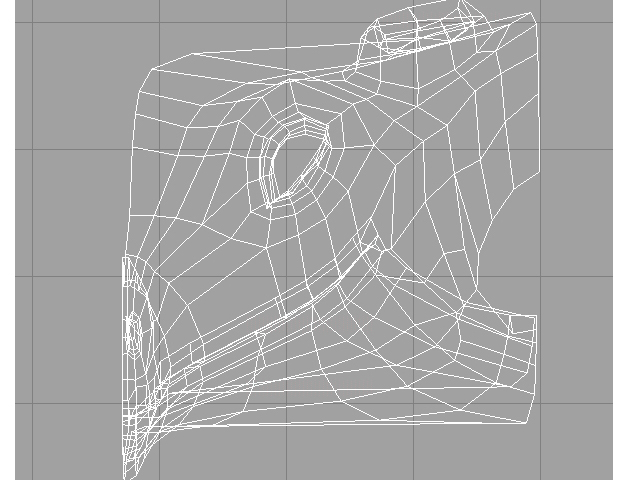
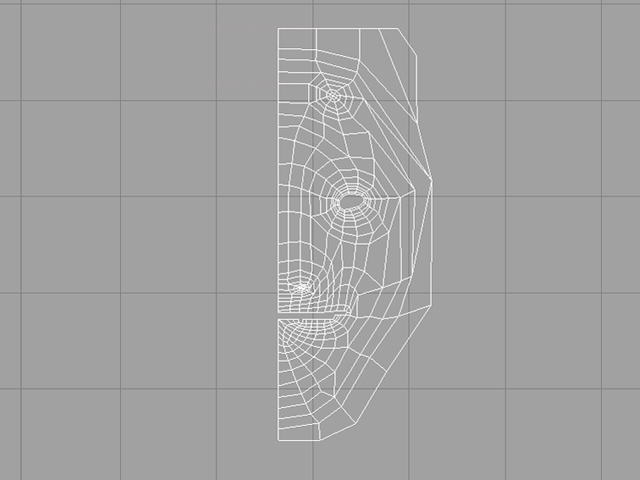
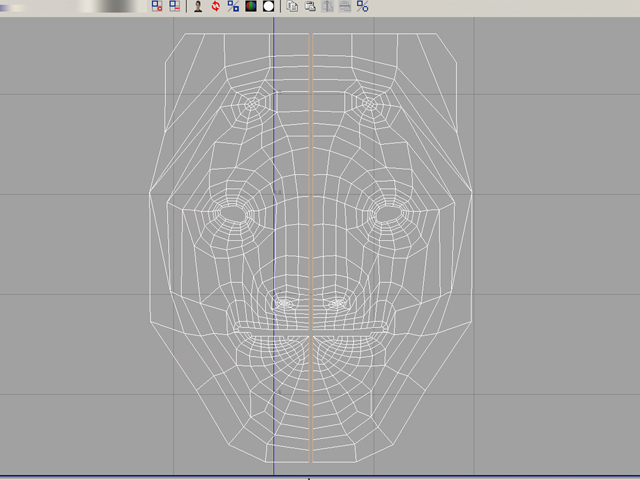
For reference, the shells below are: Tail, face, front of hand, back of hand, arm, bottom of wing, top of wing, body, leg, top of foot, and bottom of foot.

-
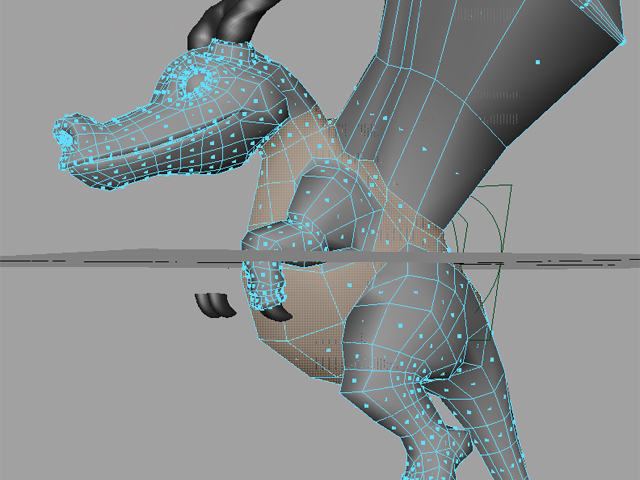
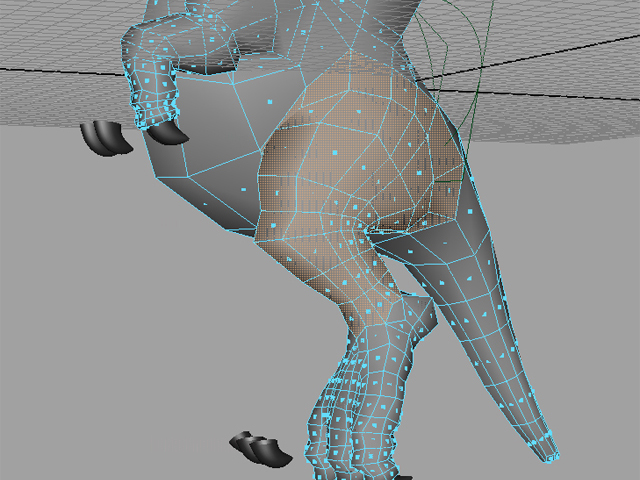
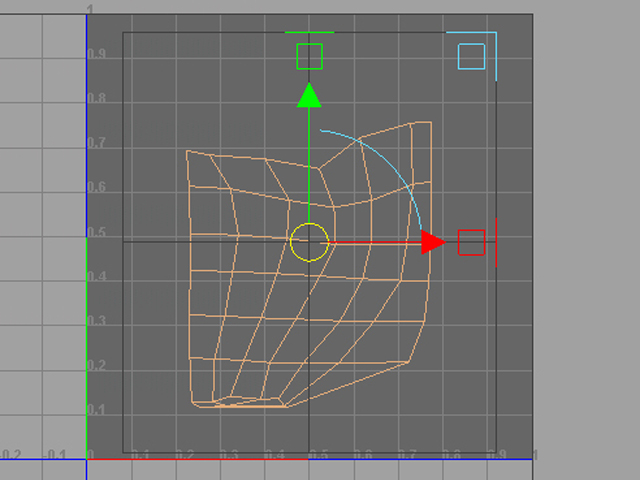
For each shell we will choose a projection from the Create UVs menu that we think will give us a good initial UV layout. Select the faces in the shell, apply a projection, and then adjust the projection manipulator as necessary. The example below uses a Cylindrical Mapping for the tail section, since the tail is roughly cylinder shaped.
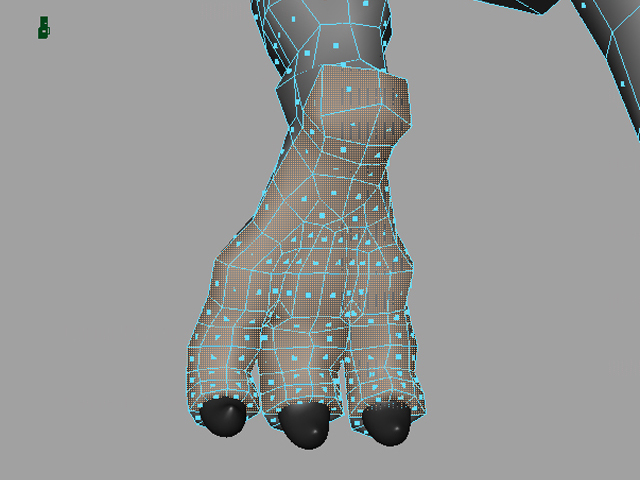
As you lay out your UVs, it is a good idea to apply a temporary texture to the model to see how it is affected by the UV map. Using a Checker render node is good choice. Up the Repeat UV on the Checker pattern to about 20 or so. A good UV layout will be characterized by squares that are of fairly uniform size and are not distorted or stretched.
-
Open the UV Texture Editor to see how the projection has lain out the tail. Move the UV shell to the side for the time being. Do this for every shell you created so that every UV is a part of a connected projection.
-
Once the different parts of the dragon are sectioned off, you will have to clean up the various parts that have overlapping UVs. You will find that Polygons → Relax is useful to space out the UVs. Be sure to set the Edge Weights to World Space in Relax (Options). This will try to make the UV faces the same size as the 3D model. Relax will not affect the UVs along the border of the shell so you will have to tweak these by hand.
-
Once you have lain out the UVs for each shell, we can duplicate the model to create the other half. The new half has the exact same UV layout as the other side. This is a slight problem, since we don't want any UVs to overlap. Select the UVs on the right side of the dragon and do Polygons → Flip. You may have to move the flipped UVs over to separate them from the other side's UVs.
-
Combine the two sides of the model and merge the vertices so that the model is a single piece. Note that you may have more UV shells than are shown below.
-
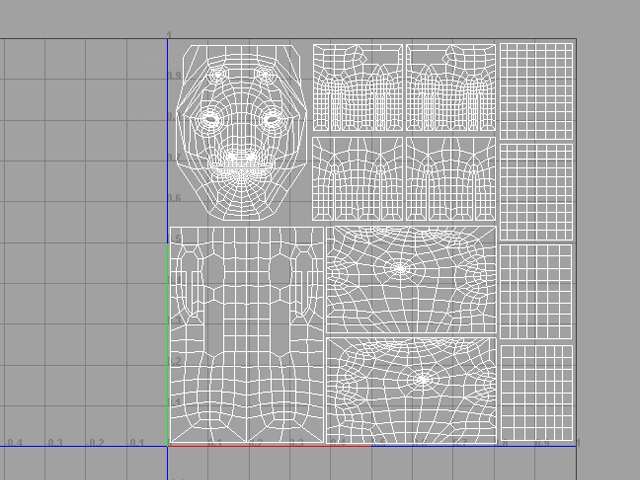
Now in the UV Texture Editor we will want to connect some of the shells that would work better as a single piece. For this model, it would probably be best if at least the head and body are a single piece. Each claw, foot, wing, and the tail might also work better as a single piece. The motivation for reducing the number of shells is that it reduces the number of seams on our model.
Combine the shells in to a reasonable set of shells. If you are overzealous in combining shells, your UV layout may suffer, so try to strike a balance. You can combine two shells by selecting the edges where they connect and doing Polygons → Move and Sew UV Edges.
-
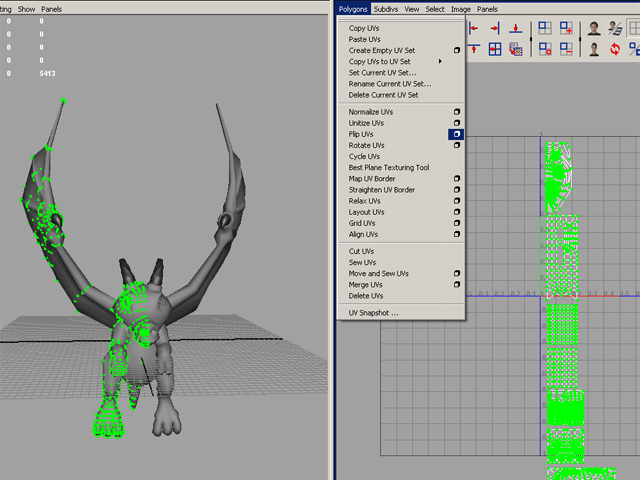
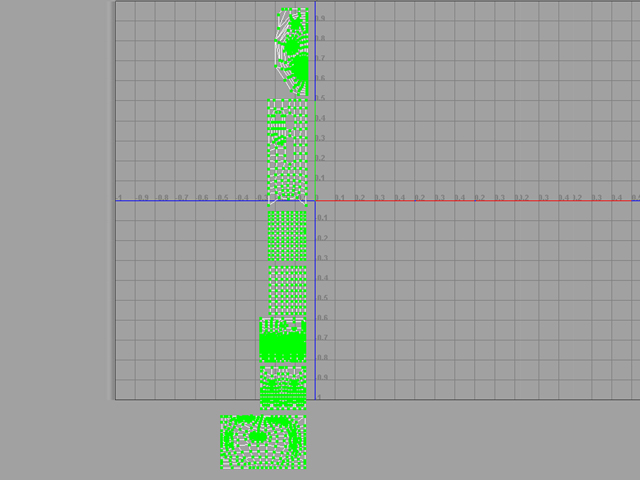
Lay out all the shells between 0 and 1 in UV space. Make sure you scale the shells to use up most of the space between the shells. You will want to leave a little margin between the shells so that the texture does not bleed between the shells.
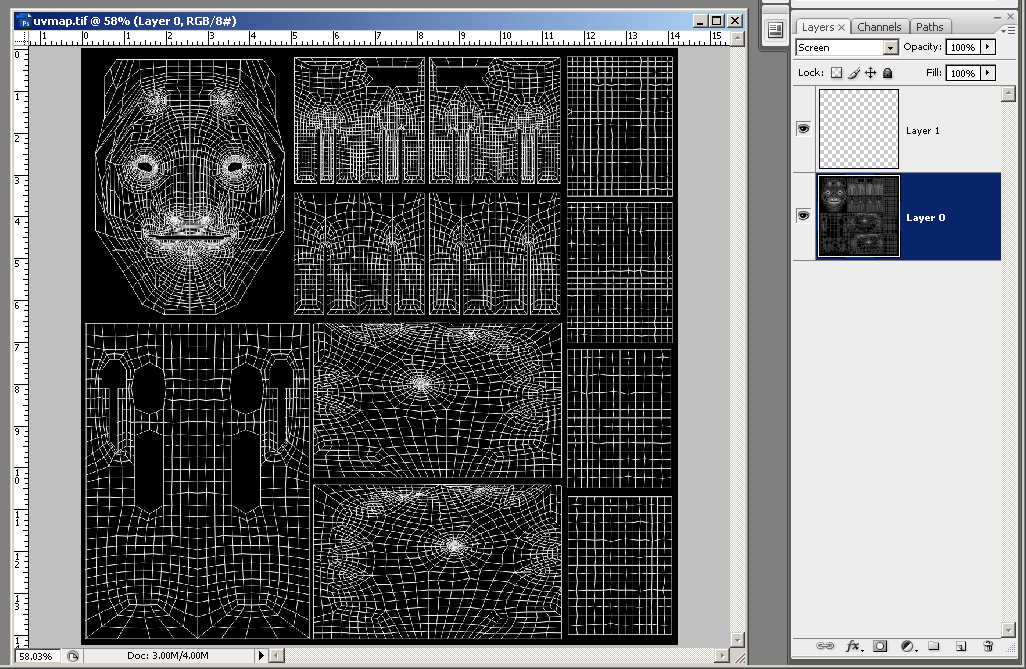
Once you have lain out all of the shells, we will save a UV snapshot that we can use as a basis for texturing. Go to Polygons → UV Snapshot... to save a snapshot. Set Size X and Size Y to 1024, change the Image Format to TIFF, and save the file.
-
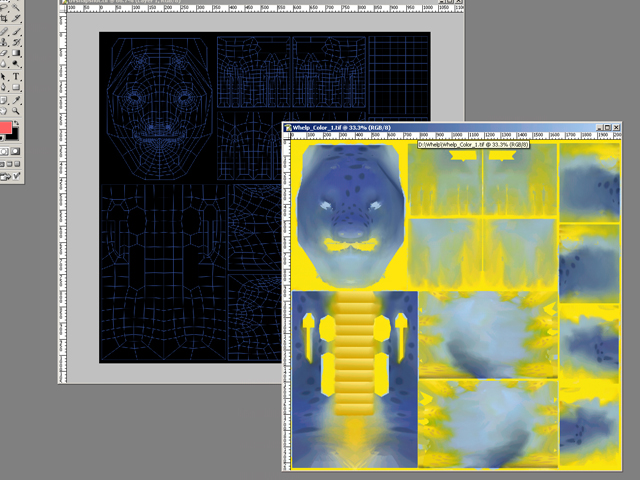
Open the UV snapshot in Photoshop. Double-click the Background layer to convert it to a normal layer. Create a new layer by going to Layer → New → Layer.... There are several ways to arrange your layers when painting your texture. The simplest is to paint on a layer on top of the UV map. Another way is to place the UV map above your texture layer and set it to "Screen" so that the UVs overlay the paint.
-
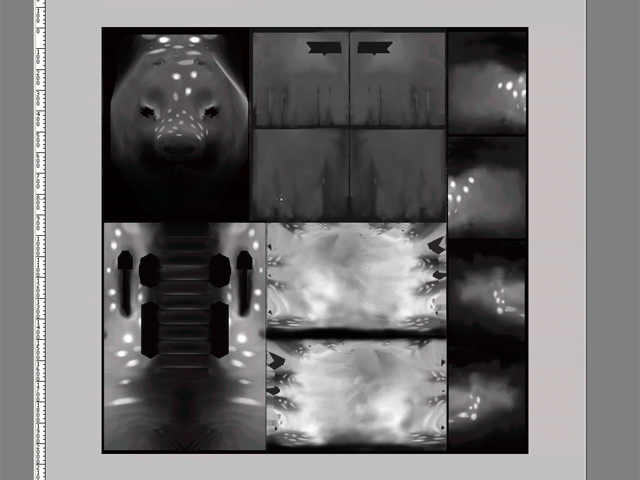
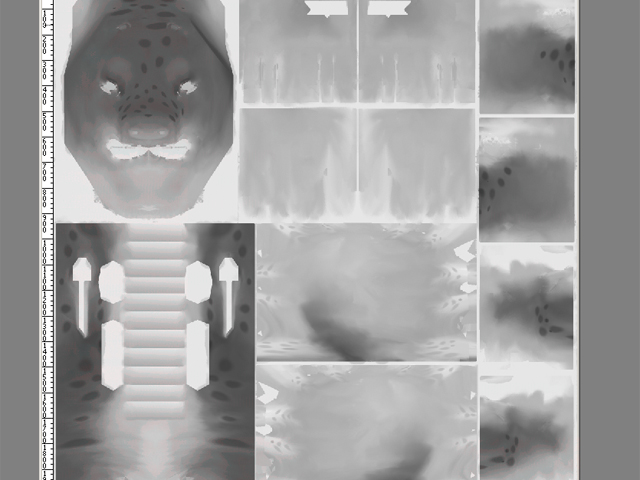
Once you are done painting your texture maps, save them to the network as .tif files. Be sure to disable the UV layer before you save them. Shown below are example color, bump, and specular maps. The bump and specular maps are extra credit. Bump and specular maps are grayscale. A bump map effects the way light hits the surface of the model. A white area indicates a high part on the skin while a black area is low. In the specular map, white areas are shiny while black areas are not.
-
Back in Maya, create a new material and assign it to the dragon. Map a File render node into the Color for the material. Browse for your color map in the Image Name field for the file. Do the same for Bump Mapping and Specular Color if you have bump and specular maps.
Adjust your textures until you are happy with them. Unfortunately, the texture will not update automatically in Maya when you save a new copy of the texture file. To force an update, go to the file node that you mapped into the Color and click the Reload button. When you are ready to do a final render, smooth the model using 2 divisions.
Go to the Layer Editor, located at the bottom of the Channel Box. By default the layer Simplelights is enabled, as indicated by the "V" next to it. This will give you some basic lights to look at your model with. For the final render, disable Simplelights by clicking the "V" and enable LightCoveLayer. Render the dragon from the cameras Closeup1, Closeup2, Closeup3, and LightcoveCamera.