			OK so before we do anything we need to create bones, and before we create bones we need to think about where they should go and how we want our rig to work.
			I already know what I need for this rig,  I know that I want to do a basic FK-IK switch which means that each limb, will have atleast three layers of bones.
			A set for FK, a set for IK and a set for the FK-IK blend.
			I also know that I want to have a foreArm twist and hand controls, but I don't want to rig them for the IK and again for the FK, we can layer it ontop of the bind.
			This will be explained more later during the arm section.
			If we keep our rig segmented it will be easier to rig in sections then combine the whole at a later time.
			This is good for a team rig, or if you want to replace the arm/get or rig component later.
-
Joint etiquette:
- All non root joints must translate only in X
- NO joint has rotation, any rotation should be joint orient
- NO joint has scale
- all joints at the end of a joint chain should have no joint orientation
-
STEP 1: create the leg joints
					From the side view, create a joint at the hip, knee, ankle, base of the toes, and tip of the toes.
					This will create the joints all on the X axis, move the joint into the middle of the left leg.
					Rename the joints:
						left_upperLeg_bind_joint
						left_lowerLeg_bind_joint
						left_ankle_bind_joint
						left_ball_bind_joint
						left_toe_bind_joint

					Make sure the toe joint has no joint orient.
Notice that all the joints are named bind Joints, these are the joints that I will bind the skin to.

-
STEP 2: Spine Joints
					From the side view, create a joint starting from the middle of the hips, create about 6 more following the spine.
					Rename the base joint, cen_root_bind_joint.
					Rename the other joints cen_spine_#_bind_joint.
					Select all the new joints and then display local rotation axis.
					Display -> transform display -> local roation axis.
					Go into component mode and press the "?" symbol on the status line.
					Select all the Y local rotation axis that are pointing forward.
					Type this code into the command line "rotate 180 0 0;", now all the Y's should be pointing toward the mime's back.
					Select the top spine joint, Go to the attribue editor and make sure the joint orient is 0 0 0.
					Turn the rotation axis back off.

-
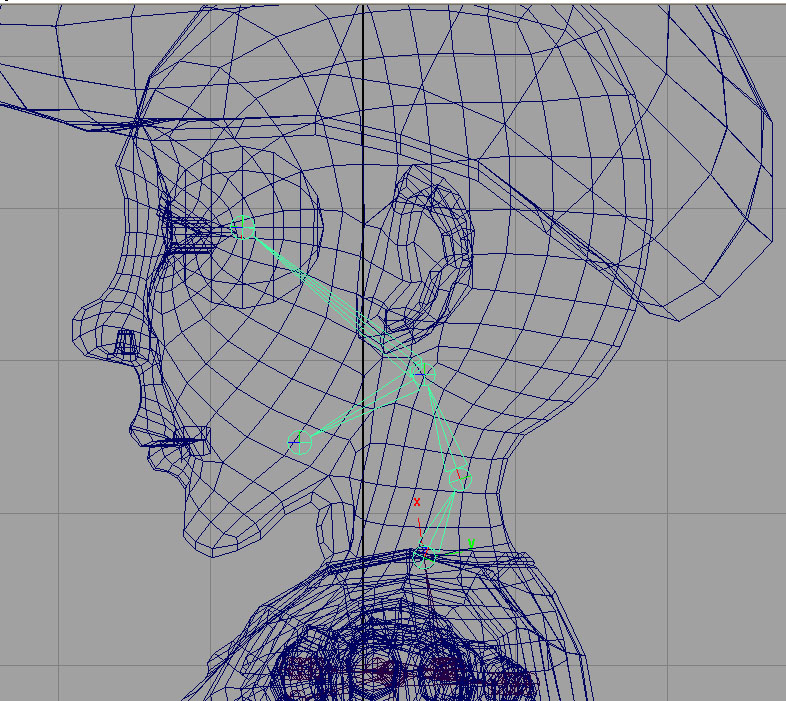
STEP 3: Head and Neck joints
					From the side view create 3 joints click at the, base of neck, middle of neck and right below the ear.
					Vertex snap the neck base to the top of the spine chain.
					Do not create the neck hierarchy in the same one as the spine.
					Rename these three joints  cen_neck_1_bind_joint, cen_neck_2_bind_joint, cen_head_bind_joint.
					Change the rotation axis point toward the back just like the spine.
					Make sure head joints joint orient is 0 0 0.
					Create one more joint from the side view, place it at the base of the mandible.
					Rename it cen_jaw_bind_joint.
					Create two more free floating joints.
					Rename them left_eye_bind_joint, and right_eye_bind_joint.
					Place the joints in the center of the eye.
					Parent the jaw and both eye joints under the head joint.
To make the eye joints line up perfectly with the eye. Point constraint the joint to the eye with the maintain offset off. Then delete the constraint.
-
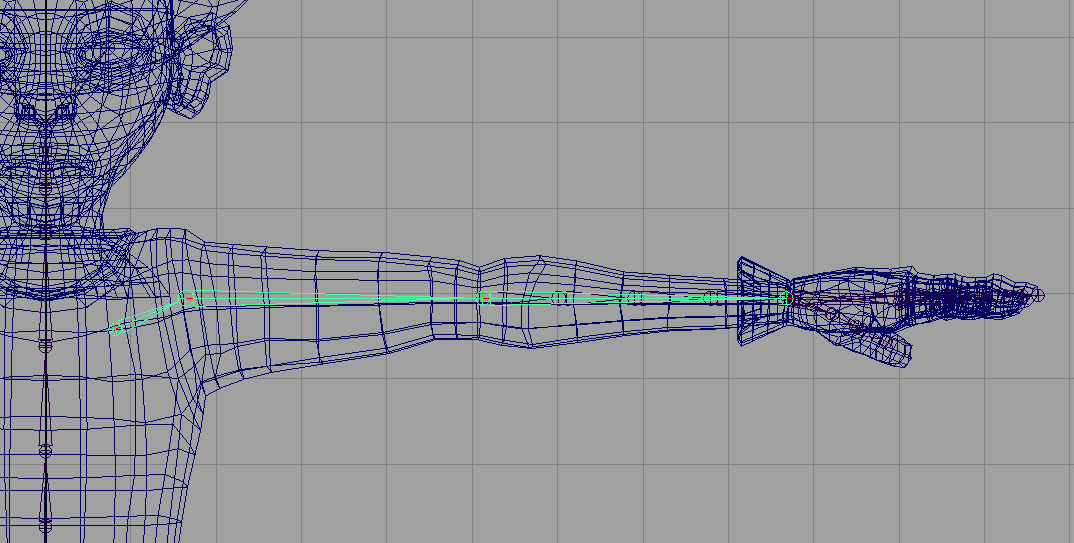
STEP 4: Create Arm Joints
					From the Front View place a joint where the middle of the collarbone should be,  and another at the shoulder.
					While holding shift, make another joint at the elbow and one at the wrist.
					rename the joints,
						left_clavicle_bind_joint
						left_upperArm_bind_joint
						left_lowerArm_bind_joint
						left_wrist_pos_joint

				 	Then place the joint chain in the middle of the arm.
-
STEP 5: Create Forearm Joints
					Duplicate the lowerArm joint.
					Unparent it from the chain (shift p).
					From the rigging shelf, split the joint into 4 segments.
					Rename the joints, left_foreArm_#_bind_joint.

-
STEP 6: Create the Hand Joints
					From the top view hold shift and create a joint chain throught the middle finger, containing 4 joints, one at each knuckle and one at the tip.
					Rename these joints left_middle_#_bind_joint.
					Duplicate the finger chain, 3 more time and place them over the other fingers.
					Rename the joints left_(finger)_#_bind_joint.
					Do the same for the thumb but with only three joints.
					Move all the fingers up into the finger geometry.
					Duplicate the wrist joint from the arm chain.
					Unparent the wrist to the world(shift p).
					Rename the joint left_wrist_bind_joint
					Parent the base of all the finger chains under the wrist_bind_joint.
					Make sure the finger end joints have no joint orient.

-
STEP 7: Assign rotation order for each joint
					We need to give the joints their correct joint orientation.
					If you want to know more about this, look at the rotation order section in the help page.
					It is important to have the correct rotation of joints to make sure the animator can animate with ease.
					Here are the ones for this rig.

					upperArm: xyz
					lowerArm: xzy
					foreArm joints: yzx
					wrist joints: zyx
					spine, neck, head, root: yzx
					all leg joints: xyz
					eyes: zyx
					jaw: zyx
-
STEP 8: Assign preferred angle
					Last but not least we can't forget about preferred angles.
					This is important for IK arms amd legs.
					For more information look at the help section.
					Set the lowerArm joint's preferred angle to -25 in the Y.
					Set the lowerLeg's to 25 in the Z.
-
STEP 9: Mirror Joints
					Select the left clavicle joint.
					From the animation rigging menu set, -> skeleton -> mirrot joints -> options.
					select YZ axis, behavior, and search for "left_" and replace with "right_".
					Do the same for the left_upperLeg_bind_joint, forearm joint chain and wrist chain.