This project is the first of three parts. For the first part, you are going to shade the following Room file. The idea is to develop and execute an overall look for the room that supports a specific mood. Later on we will be enhancing this mood with lighting, but you will be focusing on the shading aspect for this project.
It may help you to think in terms of telling a story with a single frame. Ask yourself some questions to guide your design. What is happening or did happen in this room? Who lives in this room? How did it get to be in its current state? Was it always this way or did something change? What do the objects in the room show to the viewer about the inhabitants or the room's history?
Choose a mood that you want to represent. Try to stay away from moods like "happy" unless you have a convincing way of portraying them. Write up two sentences about the mood and send it to the staff via email. Also turn in a copy as a text file.
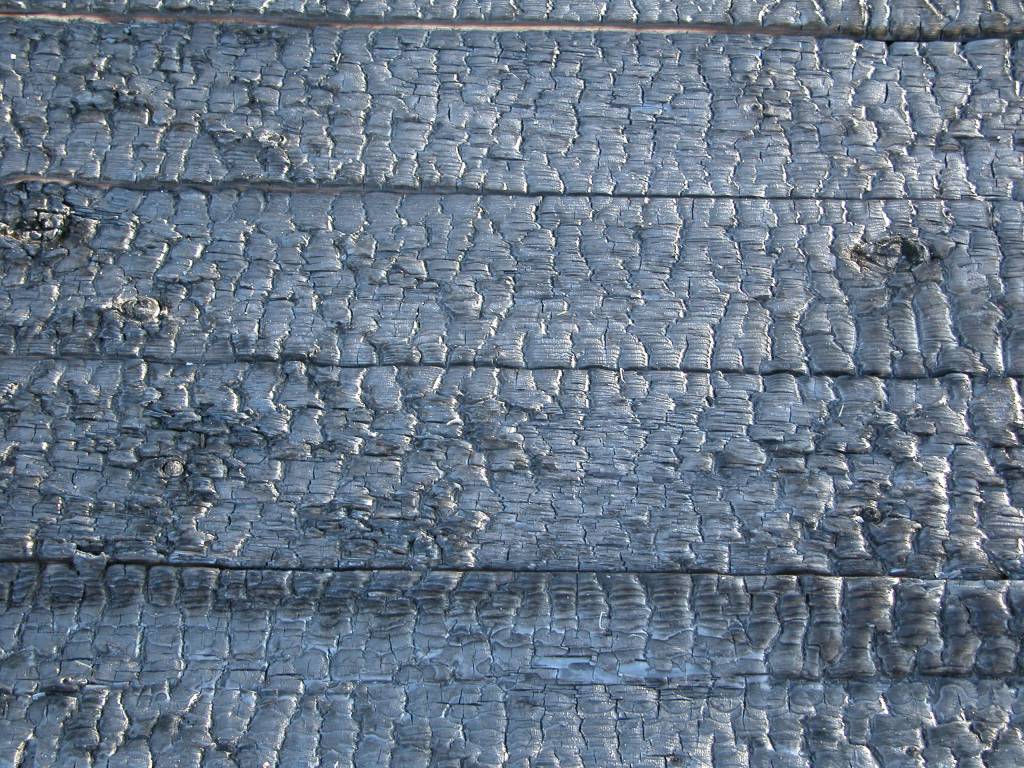
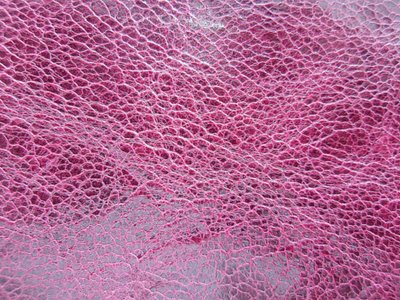
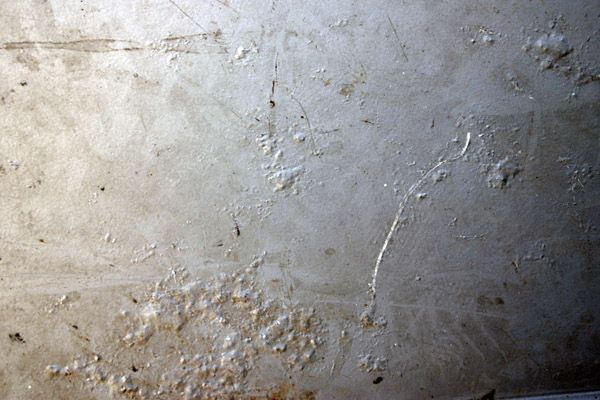
Gather at least five pieces of reference. This reference should show the types of materials and textures you aim to create. Try to think ahead about how the shading, lighting, and effects will combine to create your mood. You may find it more useful to gather reference which you can use directly to create your textures. Below are some examples of reference that it would be fairly easy to create textures from.
The room file contains several objects, which you may or may not want to use. You will ultimately be creating a single still image, so start thinking about how the objects will be composed from a single camera angle. You are free to move objects around, not use them (within reason), or create new ones. Make sure that the whole room is shaded and anything that you add is also properly shaded.
When shading the room you are required to use at least one 3D shader. You can use more procedural shaders when shading the room, but it is not recommended. Hand crafting your textures will add a lot more visual appeal to the shading. Apply the burning shader you created in part a of the project to the logs in the fireplace.
When you are finished shading the room, render the scene from the three render cameras. If there are details you want to show off, include a render of those as well. Some basic lighting has been applied to the room, which should be sufficient to illuminate the room. You can alter the lighting if things are not clear, but stick to white light for the time being. You will be focusing specifically on lighting in a later project.
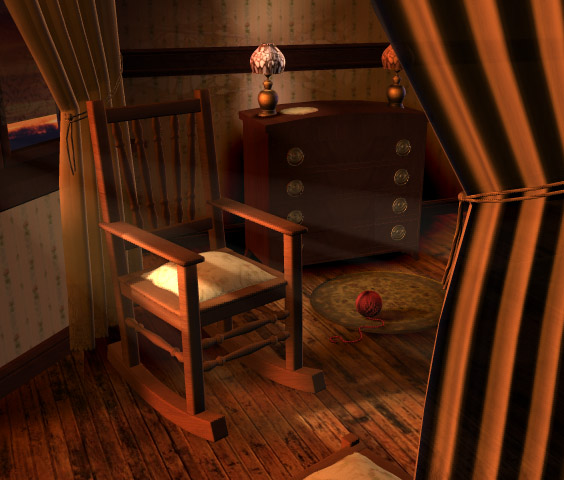
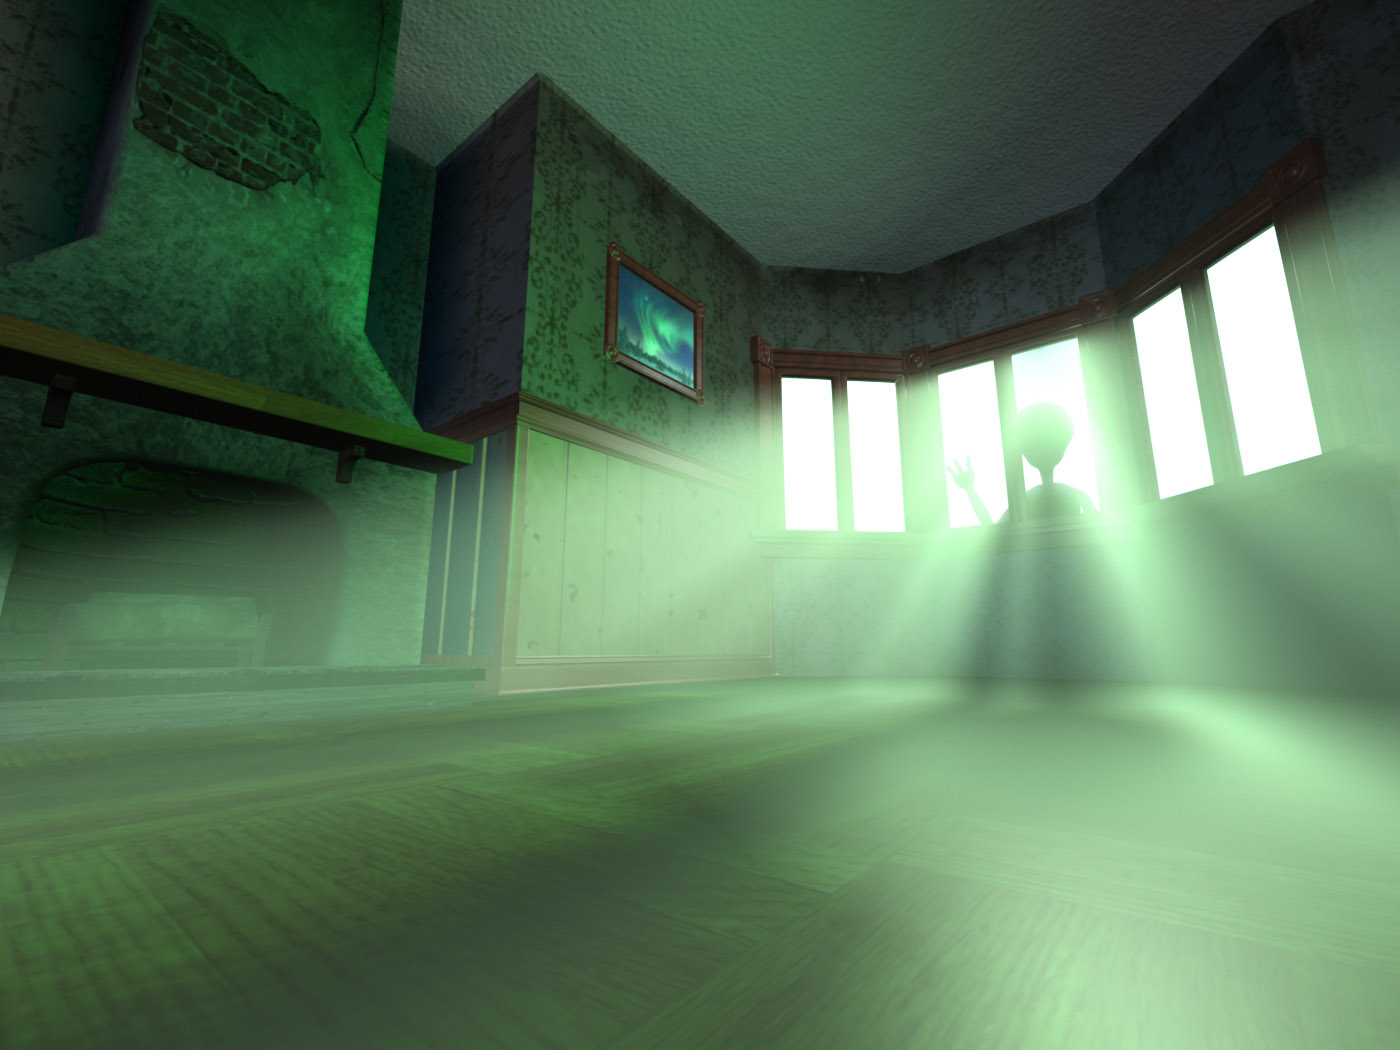
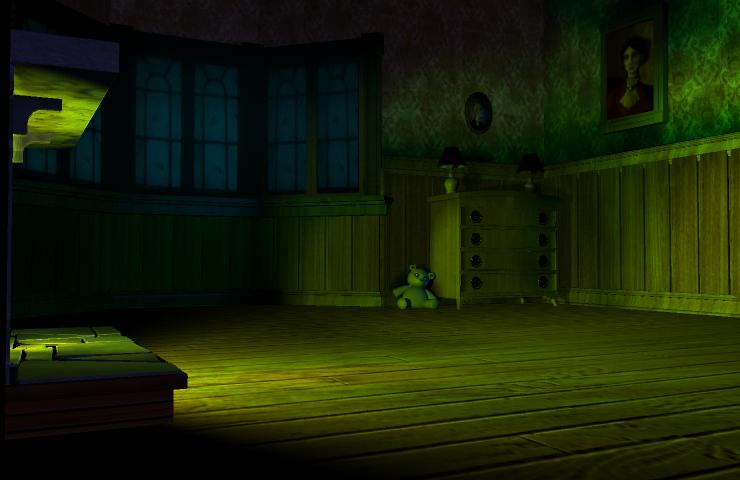
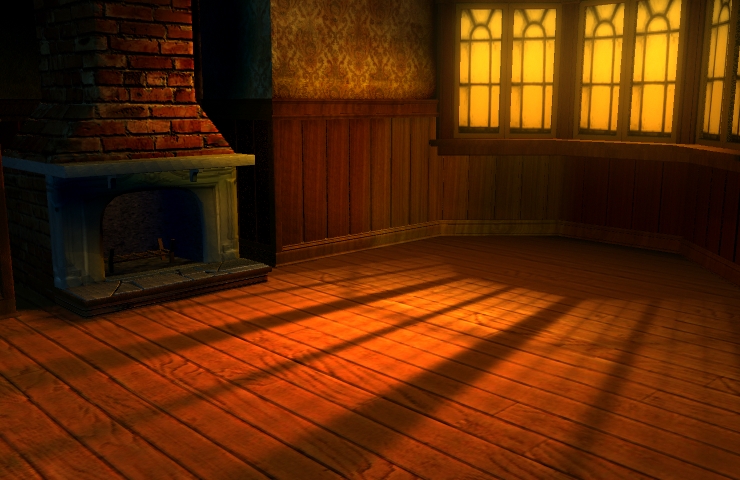
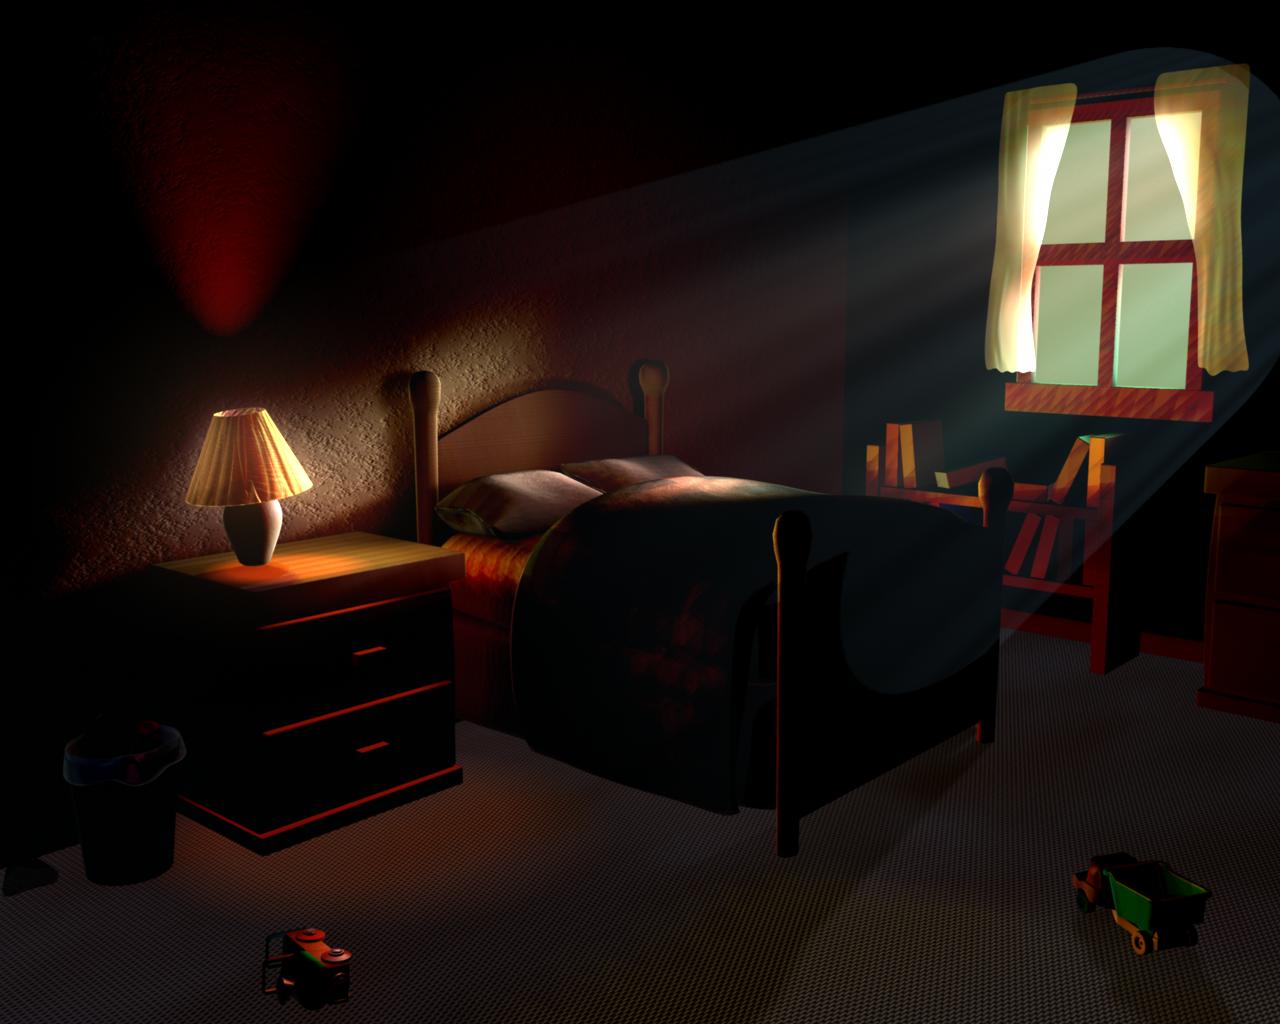
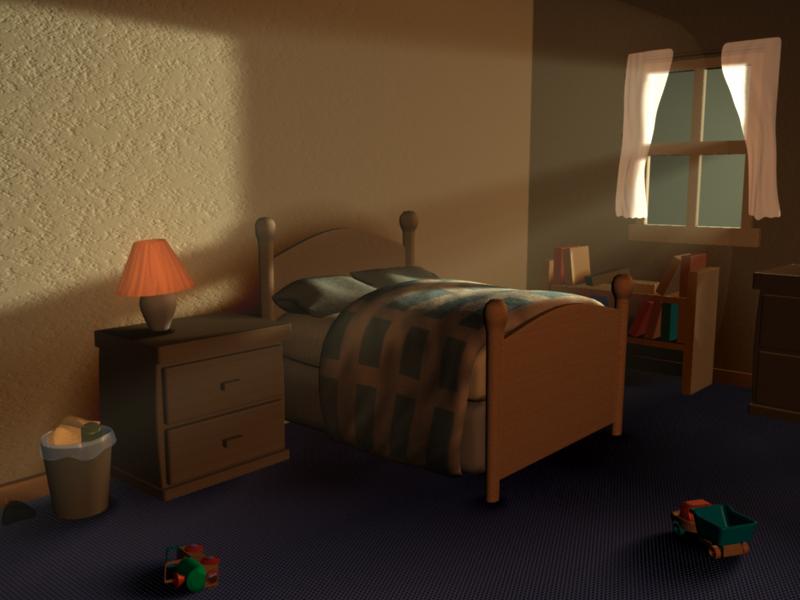
Here are some examples of finished scenes with varying success at conveying a mood. You will not be doing lighting in this project.