You will be lighting the scene that you shaded in Project 1. The goal is to further enhance the mood you have already established. Different lighting can radically change the mood of a scene and so this project will be very important for communicating your mood.
Pay close attention the distribution of light and color throughout your scene. Bad lighting is typically very flat, while good lighting contains gradations. It may be tempting to make your scene monocromatic to underline your mood, but it is generally more visually interesting to juxtapose at least two colors.
As much as possible, you should motivate your lights. This means that the viewer should be able to understand where each light is coming from such as a window, light fixture, or a fire. This is a fairly loose guideline, but one you should think about. You should also use contact shadows where needed. An object on the ground typically casts a shadow below it. If you forget these shadows, your overall lighting will suffer for it.
Lighting is an art, not a science. The purpose of reference is not to provide you with something to slavishly copy, but to show you what good lighting looks like.
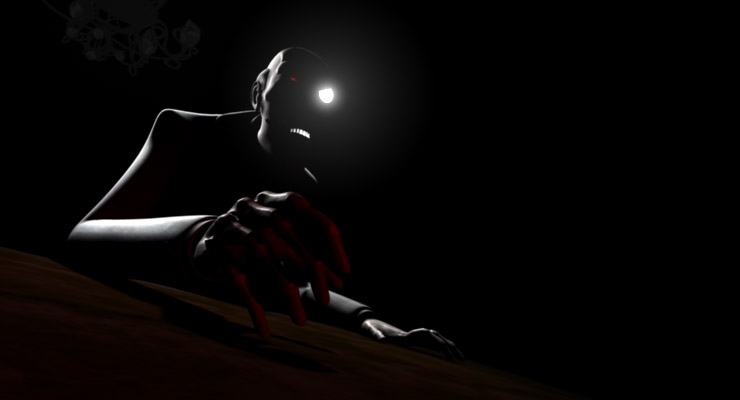
Here are some examples of different lighting schemes from Kings.