CSEP576 Project 3
Jacki Roberts
23 Feb, 2005
Turnin Files:
Normals.cpp
Lightdirs.cpp
Albedos.cpp
Depths.cpp
Additional: New Images--Hippo
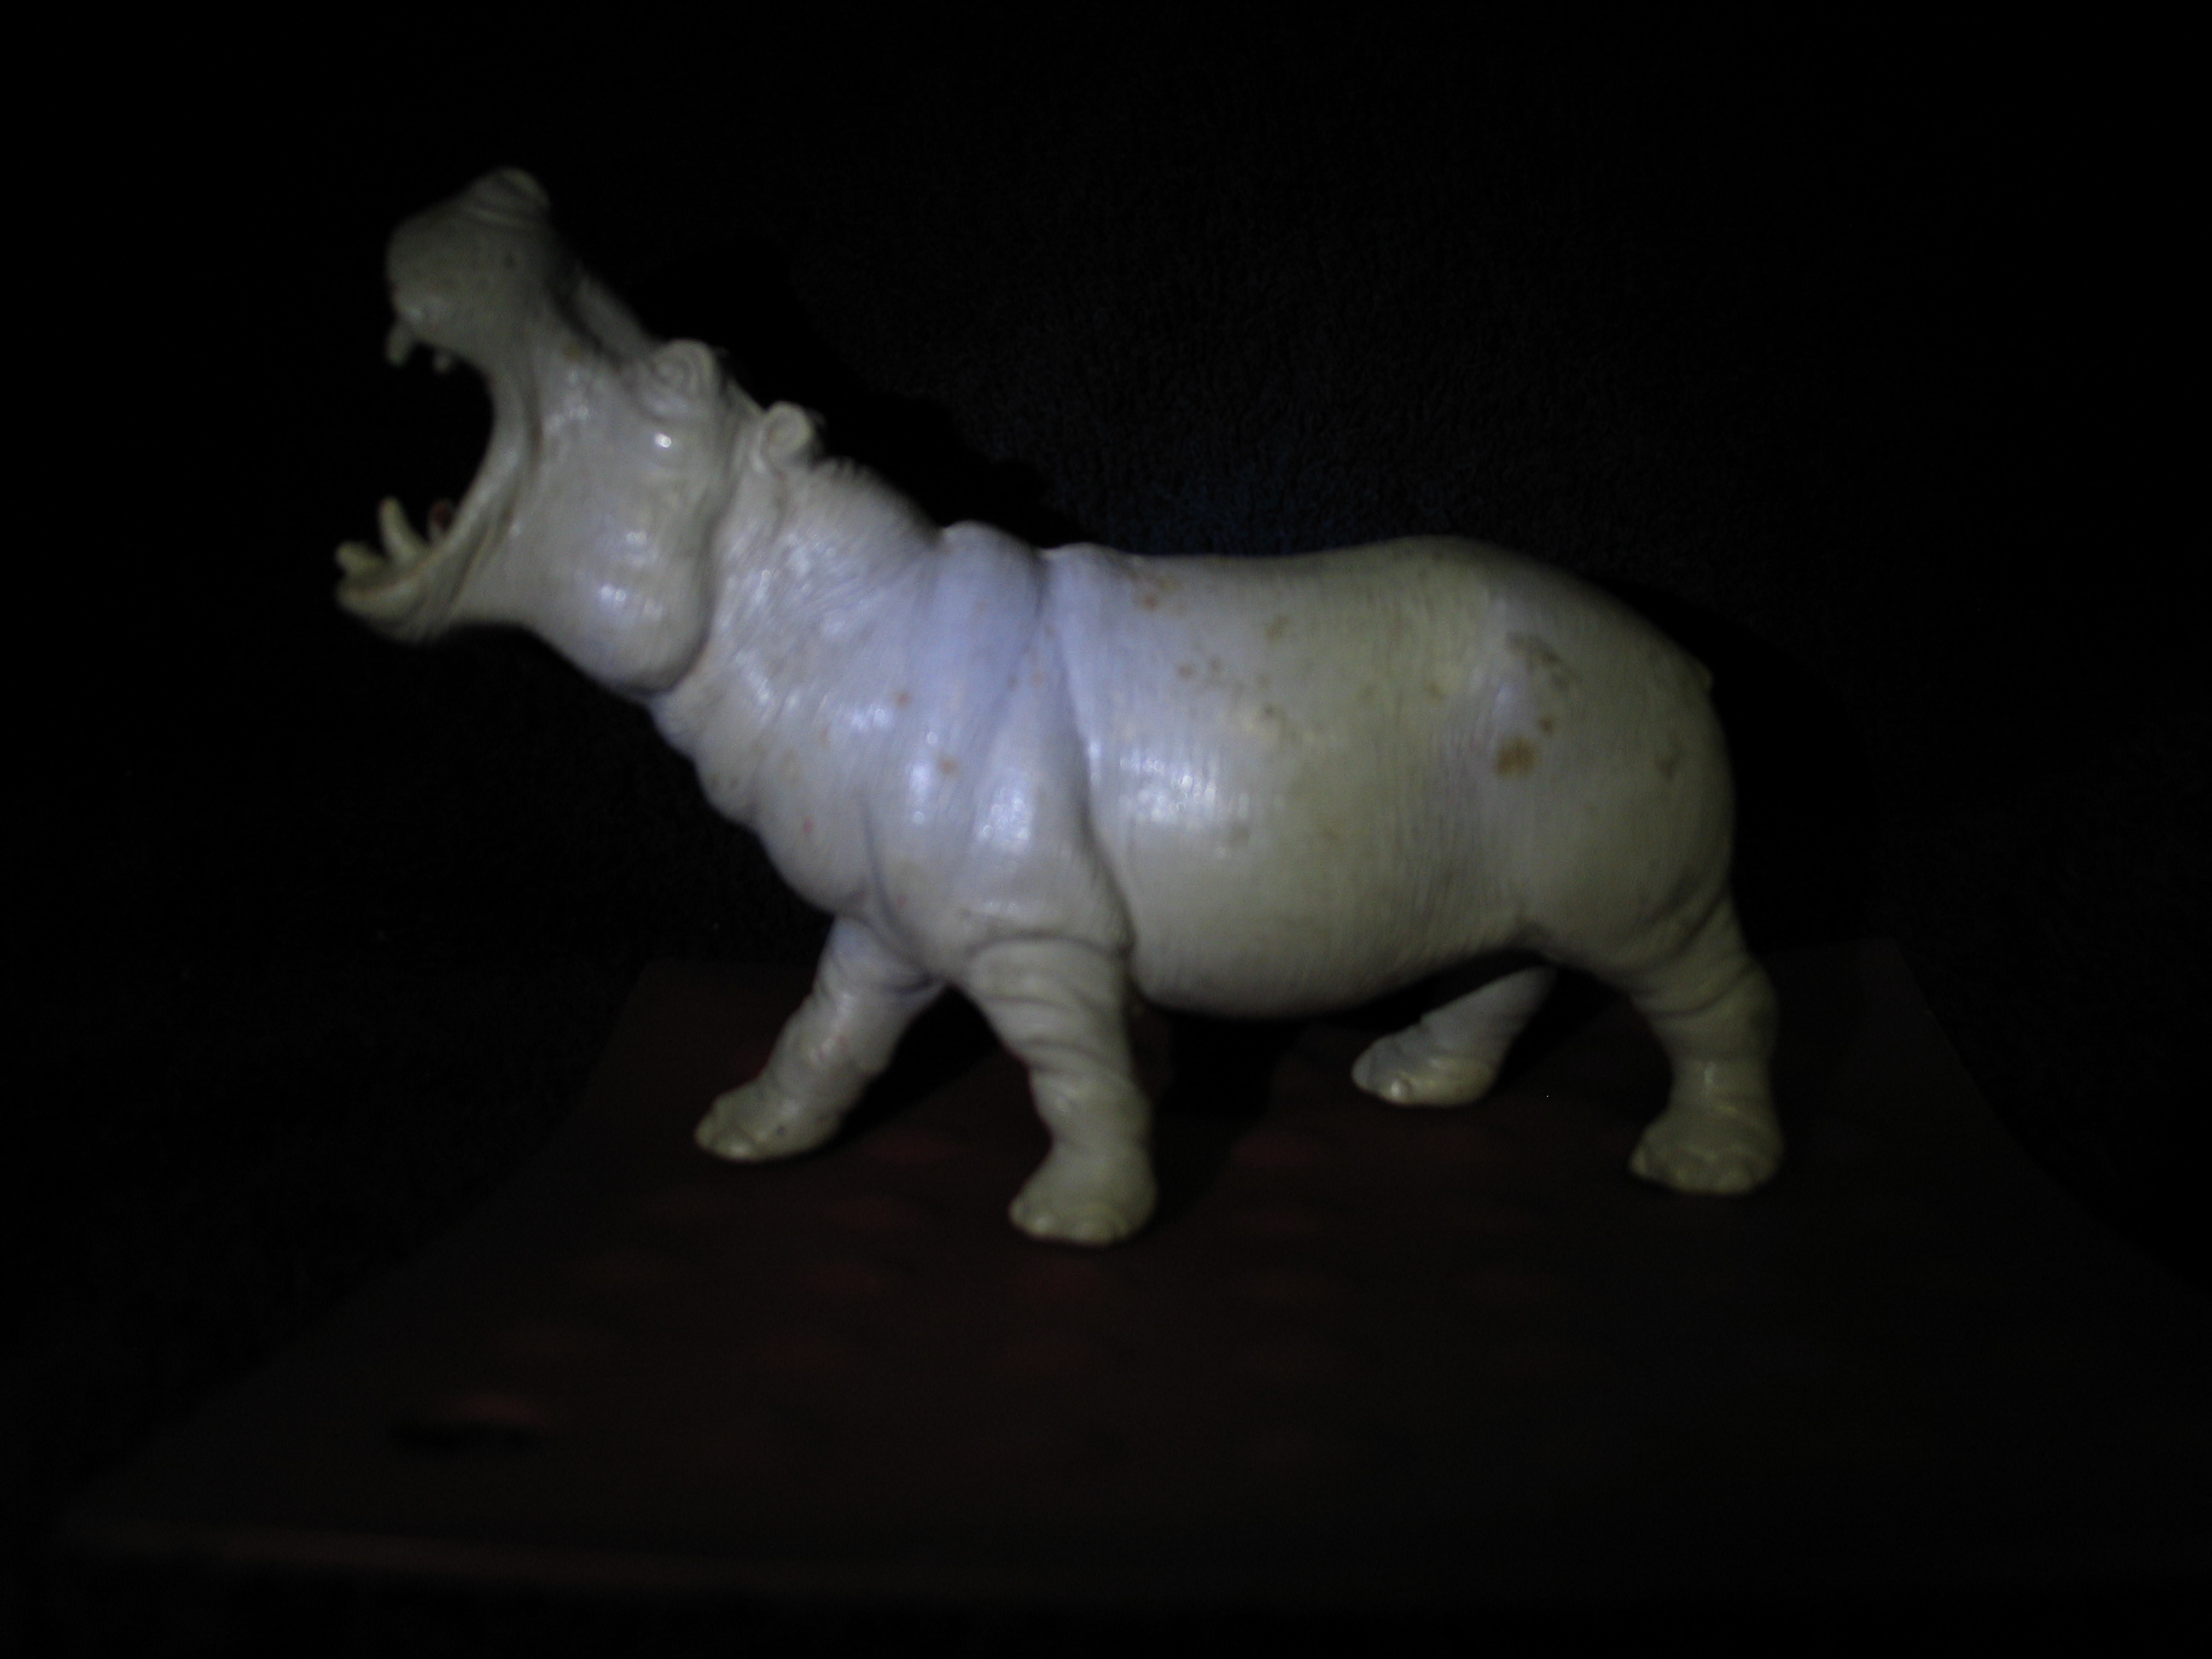
I decided to make a new image set using common household tools. My object is a small statue of a hippo, approximately 5"h x 6"l x 2"w.
Lighting:
Lacking a chrome sphere, I explicitly measured lighting positions rather than calculate them from the image. I controlled the light arriving at the statue by putting the hippo inside my oven. I used a straight edge to measure the depth to the camera (12 23/32 inches) and to mark off x positions of 10, 5, -5, and -10. I used a speed square to get precise y-values in the vertical direction. I thus had x,y,z coordinates from which I could derive a unit vector simply by dividing by the magnitude.
My point light source was a micro-light, available at REI and other fine retailers. The light was held in the camera plane for all photographs.
Tools:
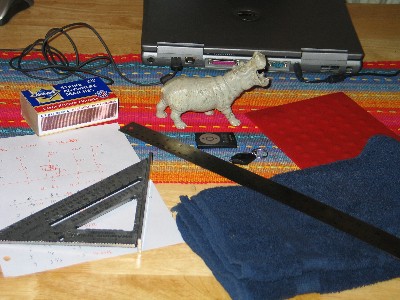
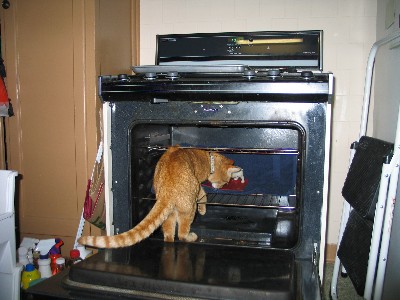
Here is a picture of the tools, as well as one showing my lovely assistant helping me set up the experiment site. My assistant then returned to chasing invisimites, and so had little effect on the later process.
Results:
| Hippo RGB Normals |
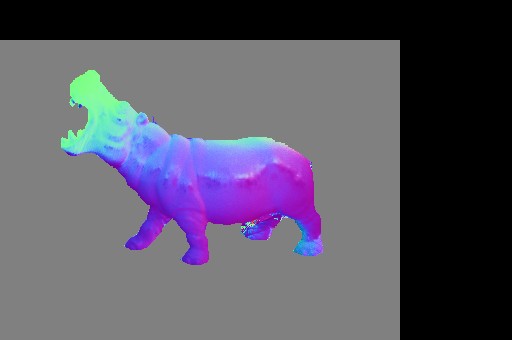 |
| Hippo Needle Map |
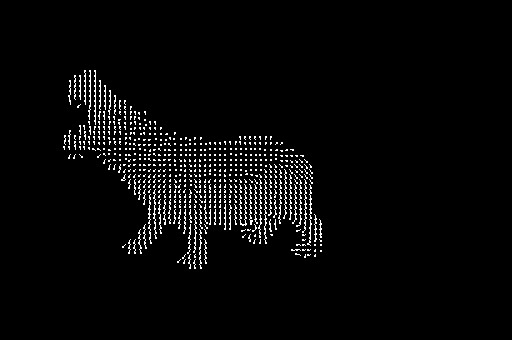 |
| Hippo Albedo Map |
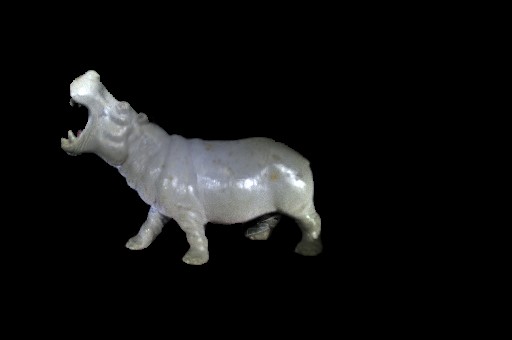 |
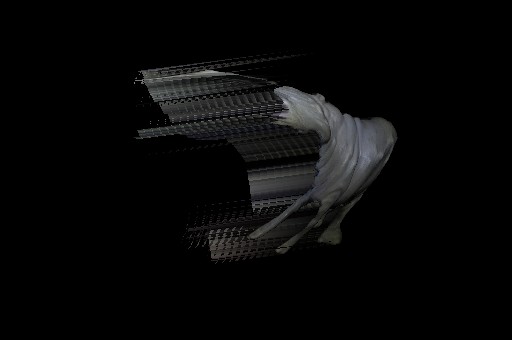
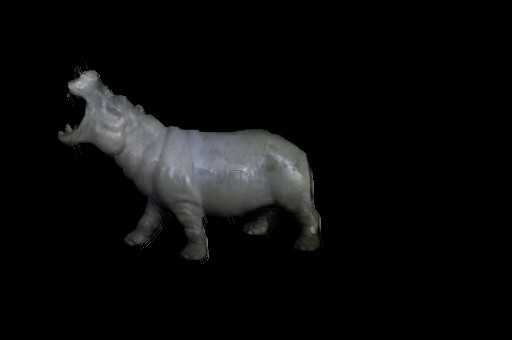
| Hippo Depth Images--no albedo map |

|
| Hippo Depth Images--with albedo map |
|
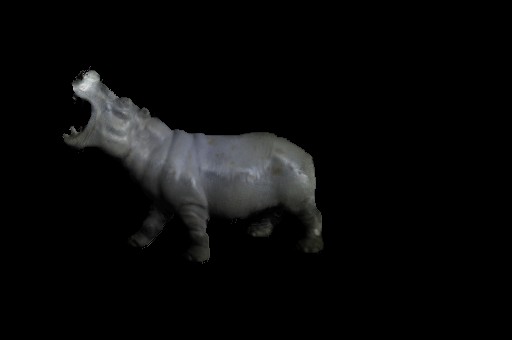
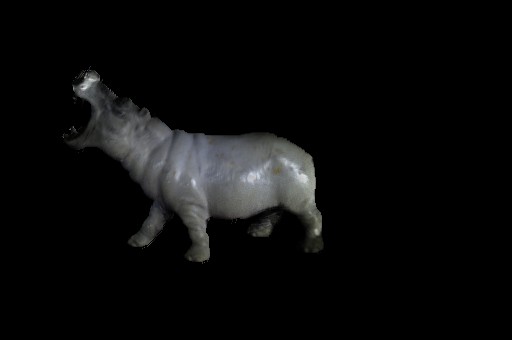
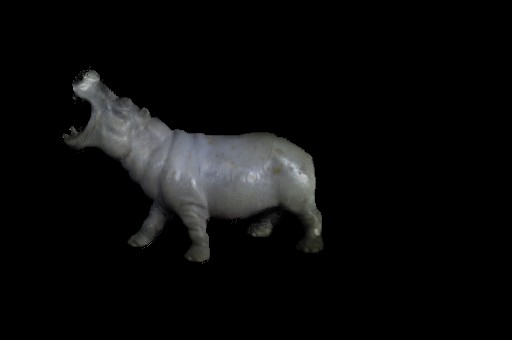
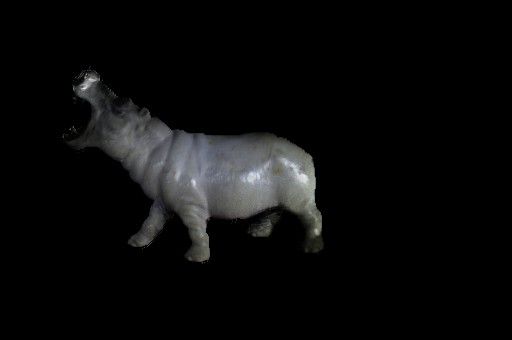
Snapshots after Moving the Light Source:
| Full On |
 |
Above |
 |
| Lower Right |
 |
Left |
 |
| Upper Right |
 |
Below |
 |
Discussion of hippo process:
I created the mask for the hippo images using our iscissor.exe from project 1. It was quite easy.
I tried several runs through with manual pressing of the shutter button, but all resulted in too much movement among the hippo images. The remote control solved this problem completely. All resulting images were perfectly aligned.
I used a micro light because its light has a fairly narrow beam. I manually pointed the light toward the center of the hippo in all images. This was the most error-prone part of the process other than warping due to the camera distance from the statue. Some skewing, particularly around the nose, could be caused by my pointing direction varying too much from the intended direction. Micro lights also come in pure red, blue, and green bulbs, so it would be interesting to set up a better control over lighting direction and take separate images with each of the color bands separately.
As you can see, the depth has a lot of fisheye warping. This is probably due to the camera being too close to the statue. The depth of my oven is about 13 inches, which is closer than the camera can adequately focus. Note that the surface of the stomach, representing points near the camera's best focus depth, has quite good distinction at all rotations. You can see the vein running horizontally along the surface accurately at all rotations. The rest of the image skews consistently with the warping.
The lighting changes are quite good at all points except the nose, where you can see inaccurate normals in the rgb and needle map images above. This is at the farthest distance from the center of the image, and so is consistent with camera warping.
Discussion:
I was happy with all the results. I was especially happy with the hippo experiment. I would like to put further thought into the lighting direction and find a location where my camera can be farther away from the statue, and compare the results.
There were a couple of gotchas on the normal detection that didn't show up until working with the depth matrices. For example, on the Buddha image, there were three points that got infinite normal results, which then messed up the j+1 and i+1 calculations in the depth matrices. (The debugging output for this can still be seen in the release exe). It was necessary to assign a random normal for such points (I chose 0,0,1) so that the depth calculation could proceed. This was tricky to debug, but obvious in hindsight...as most bugs are.
It would be interesting to come up with interpolated normal guesses rather than use 0,0,1. For example, the normals for the three points that failed in the Buddha images were probably close to those of their neighbor points. We might get better results at the borders of the mask if we interpolated.
The mask borders are the most obvious area for improvement. Interpolation might help here, as might using a filter before calculating the normals at the border to come up with suitable border behavior, by mimicking what the nonexistent (due to the mask) neighbors might look like by filtering among the existing pixels nearby.
All in all, a fun project.