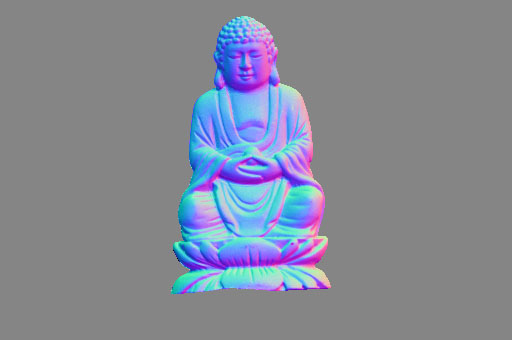
RGB
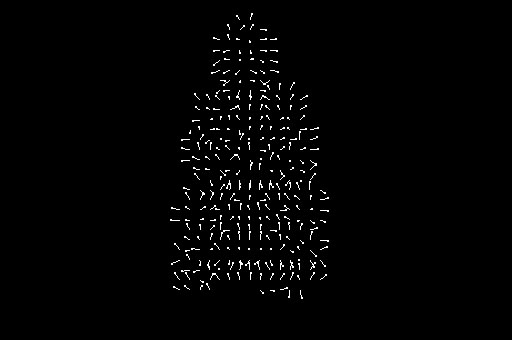
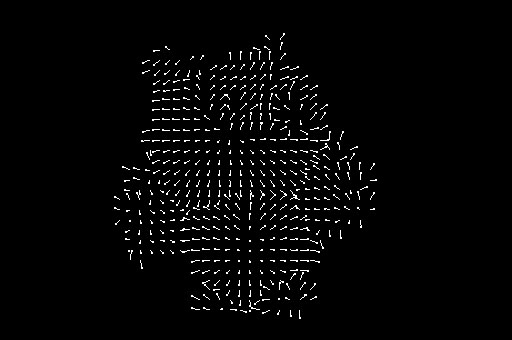
Needles
Professional Master Program - UW
Computer Vision - CSEP 576
Project 3: Photometric Stereo
Student: Marcelo De Barros
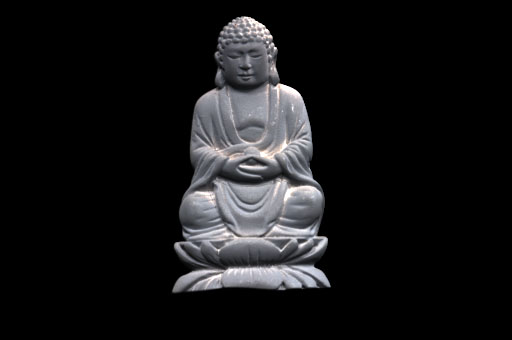
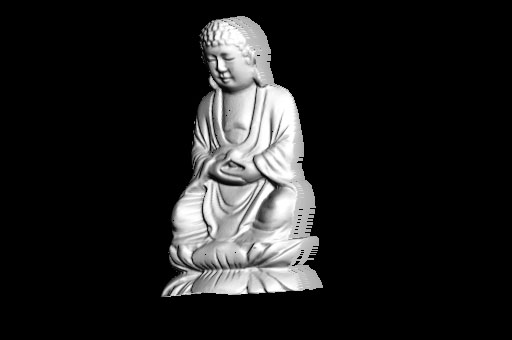
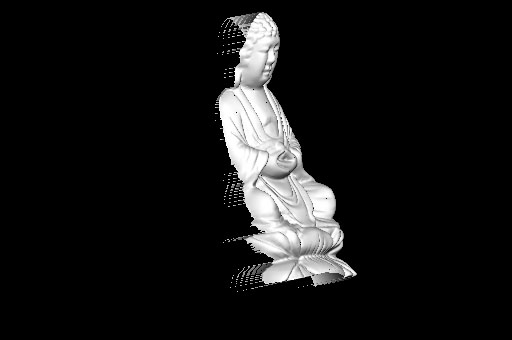
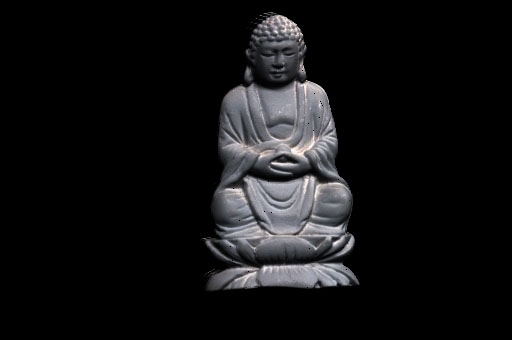
Buddha
|
|
|
|
RGB |
Needles |
 |
|
Albedo Map Snapshot |
 |
 |
|
View 1 without Albedo |
View 2 without Albedo |
 |
 |
|
View 1 with Albedo |
View 2 with Albedo |
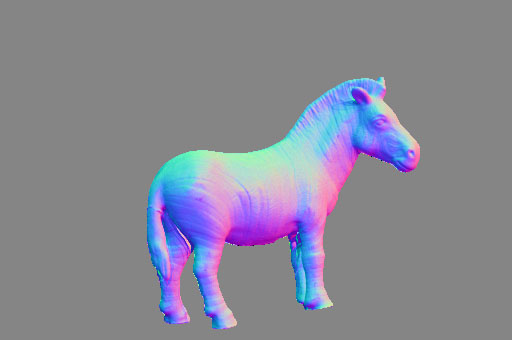
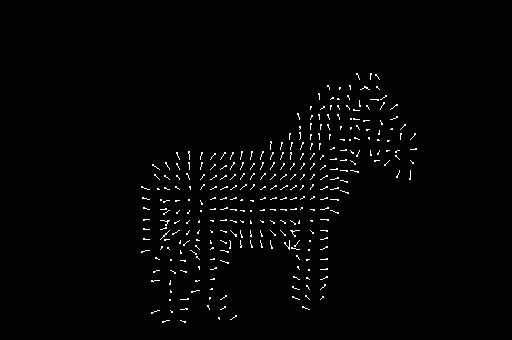
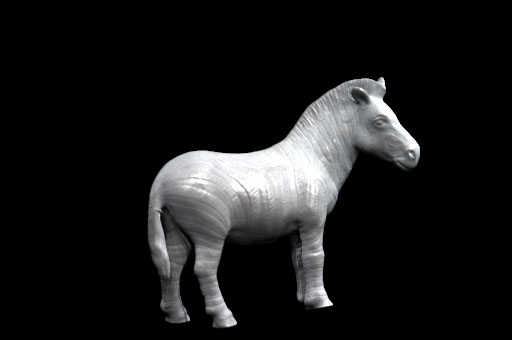
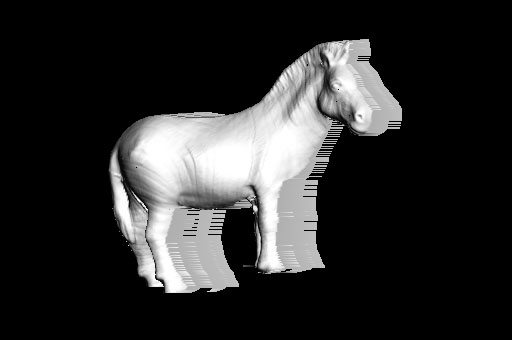
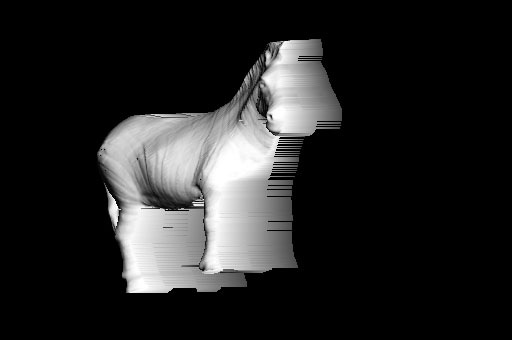
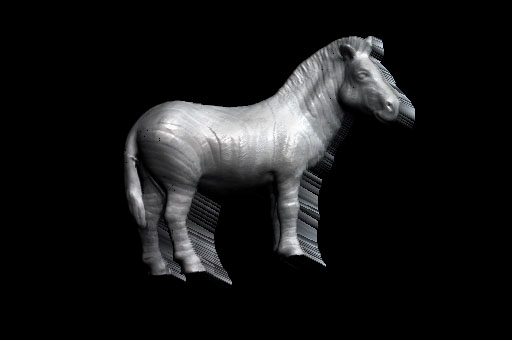
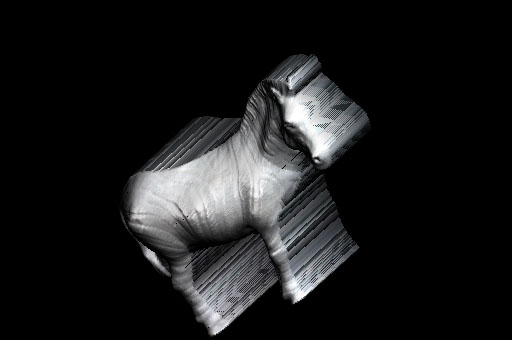
Horse
 |
 |
|
RGB |
Needles |
 |
|
Albedo Map Snapshot |
 |
 |
|
View 1 without Albedo |
View 2 without Albedo |
 |
 |
|
View 1 with Albedo |
View 2 with Albedo |
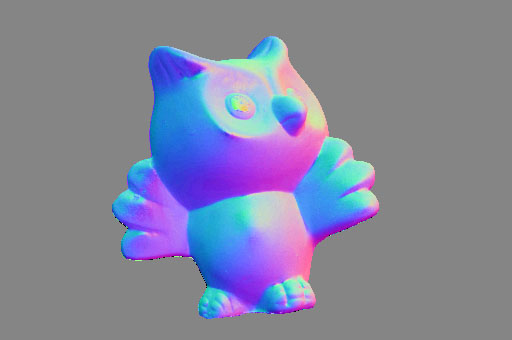
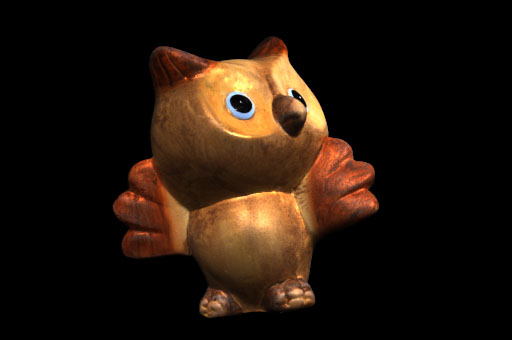
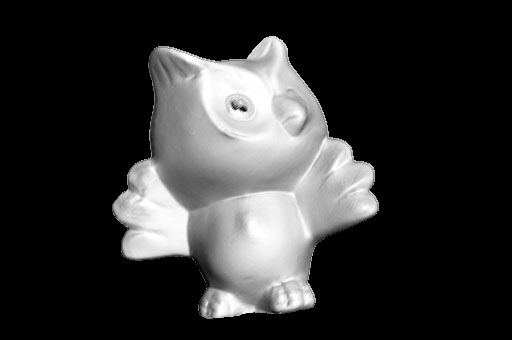
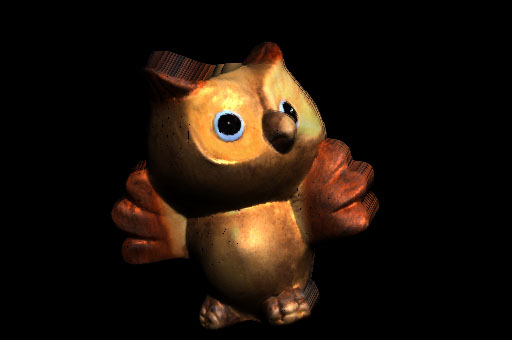
Owl
 |
 |
|
RGB |
Needles |
 |
|
Albedo Map Snapshot |
 |
 |
|
View 1 without Albedo |
View 2 without Albedo |
 |
 |
|
View 1 with Albedo |
View 2 with Albedo |
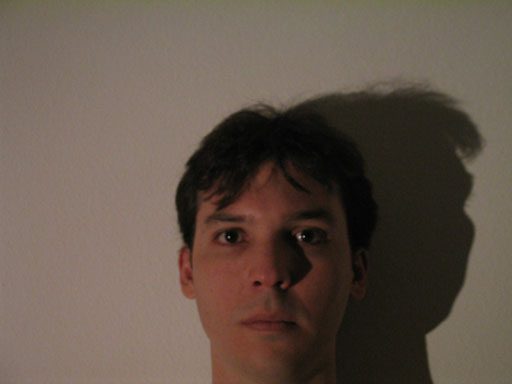
Marcelo!
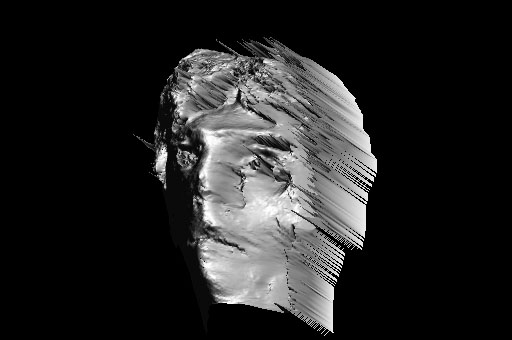
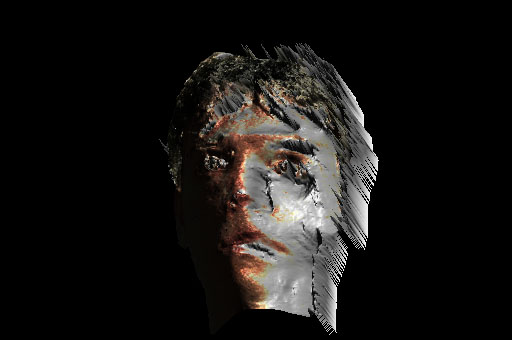
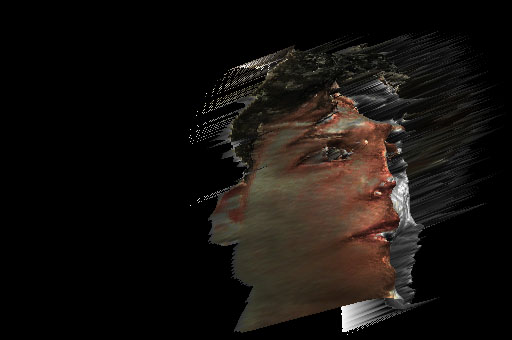
Well, this was a tentative of doing the photometric stereo of
my own picture, but the results don't look quite well as I would like. Some
reasons could be:
- The intensity of the light source was not uniform over the object
- The direction of the light source varied slightly between the time I
took the pictures with the sphere and when I took the pictures of my face
- It seems that the intensity of the light on the right side was greater
than the one on the left side
- I moved slightly during the pictures, and so did the camera
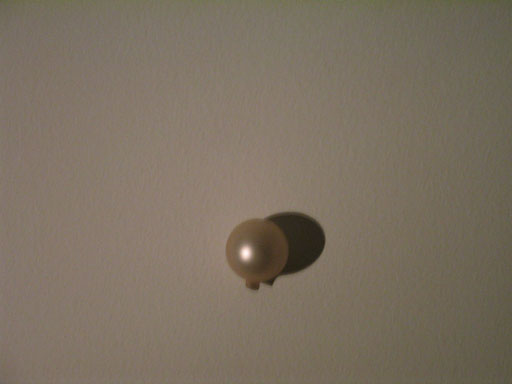
I took 12 pictures of myself and I used one of those xmas ornament balls as the
sphere to calculate the light directions.
Then using the intelligent scissors tool, I created the mask for both the sphere
and my face. Then I just tried using the tool against these images.
I figure since I spent a good one hour taking all the pictures, I might as
well just add the bizarre results to the artifact page...
 |
 |
|
Marcelo - original picture (first image out of 12) |
Sphere to calculate the light directions (first image out of 12) |
 |
 |
|
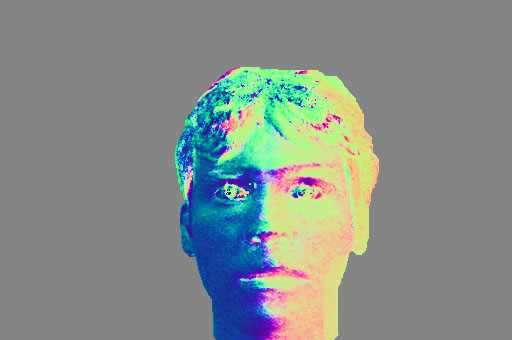
RGB |
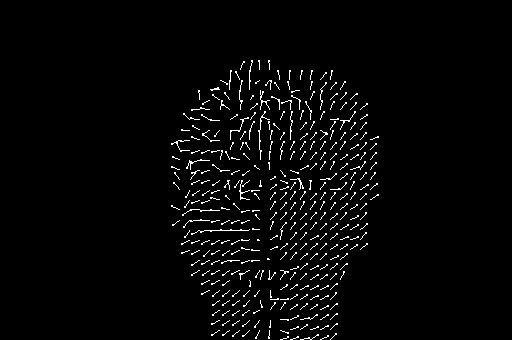
Needles |
 |
|
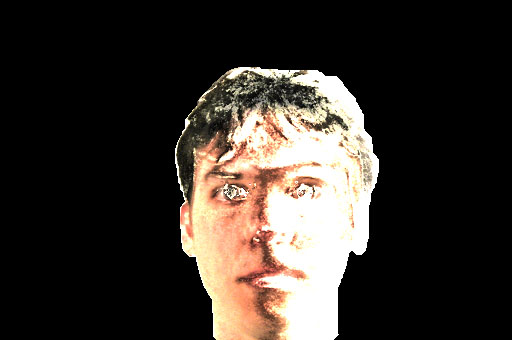
Albedo Map Snapshot |
 |
 |
|
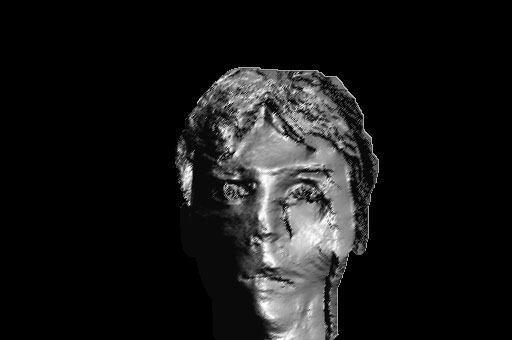
View 1 without Albedo |
View 2 without Albedo |
 |
 |
|
View 1 with Albedo |
View 2 with Albedo |
About the project!
I had a lot of fun, it was a nice project! In the beginning it
was tough to understand the concept, but once you get the idea the
implementation is very straightforward. I liked the fact that we only had to
fill out the gaps related to the subject and didn't have to spend too much time
in coding the math routines (although it would be definitely interesting too!).
The depth map was by far the most complicated part, at least for me. It took me
a while to realize that the zind vector already contained the indexes to
be used in the M matrix. I also had to be careful to stay within the bounds of
the mask and to avoid NaN. After that, the project was finally done!
The 3D for most of the images turned out being very good. The image of the owl
did not work very well for the right side, perhaps because there was not much
light on that side of the pictures. Of course, my image was not reconstructed
properly either due to the reasons already mentioned. Two problems with this
method are: first, it gives extra weight to the areas with more illumination,
and second it leaves a trail of the image when moving it around after the depth
map has been calculated. Unfortunately I'm not sure how to fix these two
problems.