Tips
References
Samples
You should always have references for whatever it is you are basing your model on. For Character modeling, it is a good idea to import the reference into Maya so that you can have a nice blueprint to work off of.
First, open up a frontal and side view of your reference in Photoshop (or any other image editing program). Create a new document with a 2 - 1 ratio. 400x200, 800x400, etc. Copy your two reference images into the new document and adjust them until they align correctly. You have might to resize them to make them fit better.
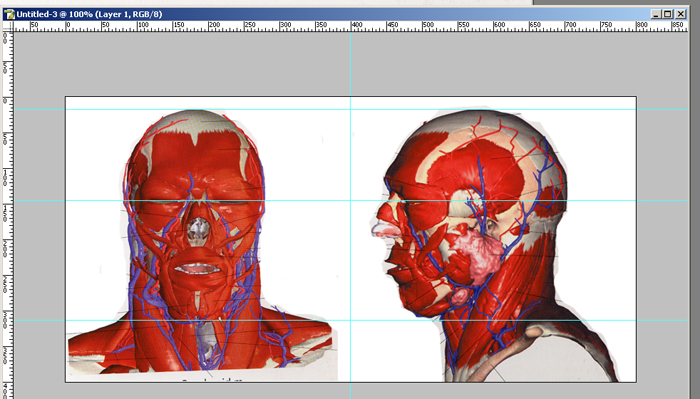
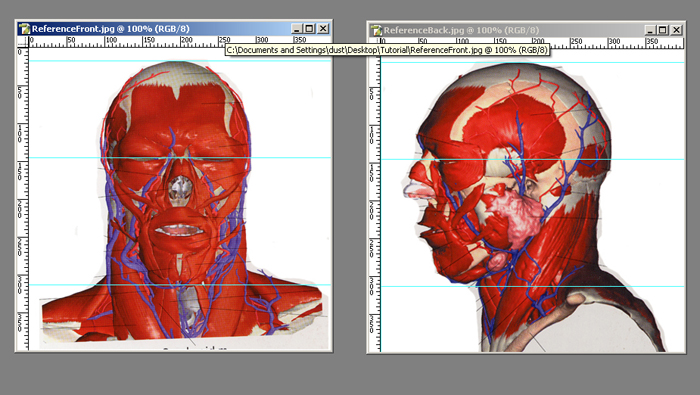
Once they are aligned, split them up into 2 different files as shown below. One will be for the front view and the other for the side view.
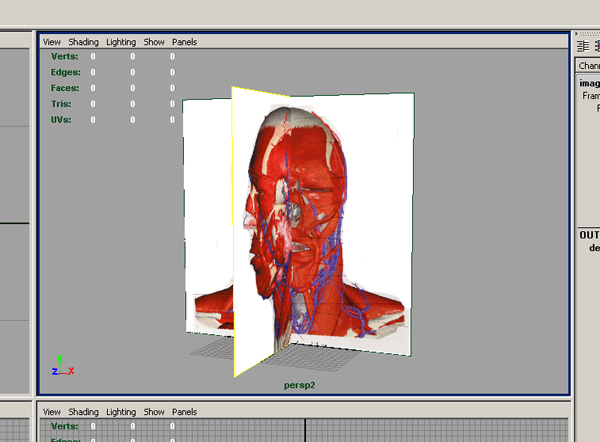
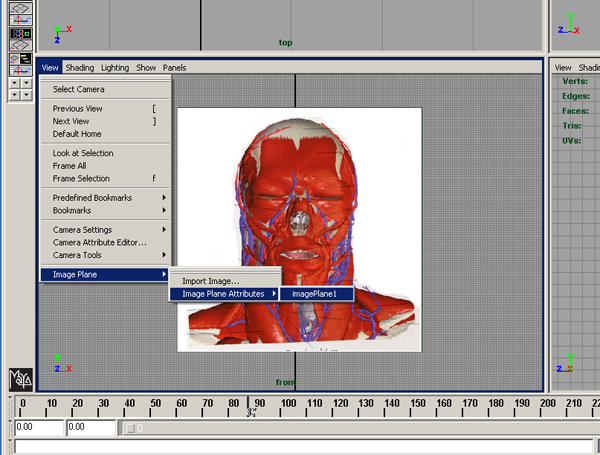
In maya, select the Front Camera and import the image as shown below. Be sure to import the correct reference image.

Do the Same for the Side Camera.
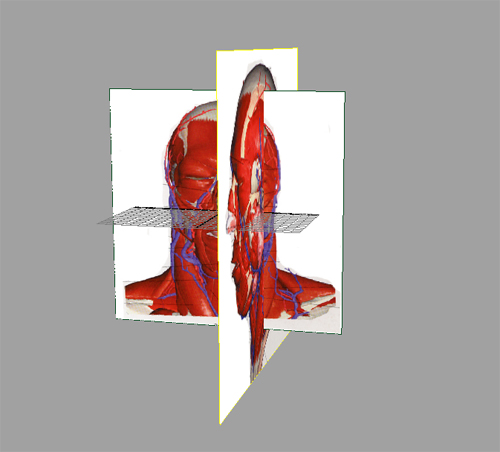
As you can see from the above image, the front and side view aren't exactly matching up correctly. So we will have to change some settingsto get them to match up. In either the side or front camera, go to View > Image Plane > Image Plane Properties > imagePlane1
The settings we want to pay attention to is the "Placement Extras". For now, input the settings that is circled in the the example below.
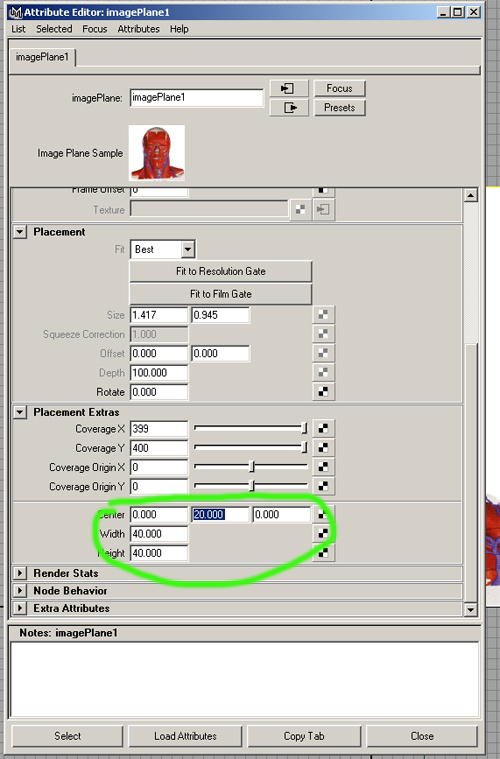
We do the same for the Side Camera. Use the same settings.
If we check the Persp Camera, we can see that both the front and side view of the images matches up nicely now. If you don't want to show the images in the Persp View, just go into the Image Plane Properties for both the Front and Side Camera and toggle "looking through camera".